
Still need help?

Once you have added an app and submitted some data, you can access and process the data.
Open the app, submit data, and click the Submissions tab to access all your submissions in one place.
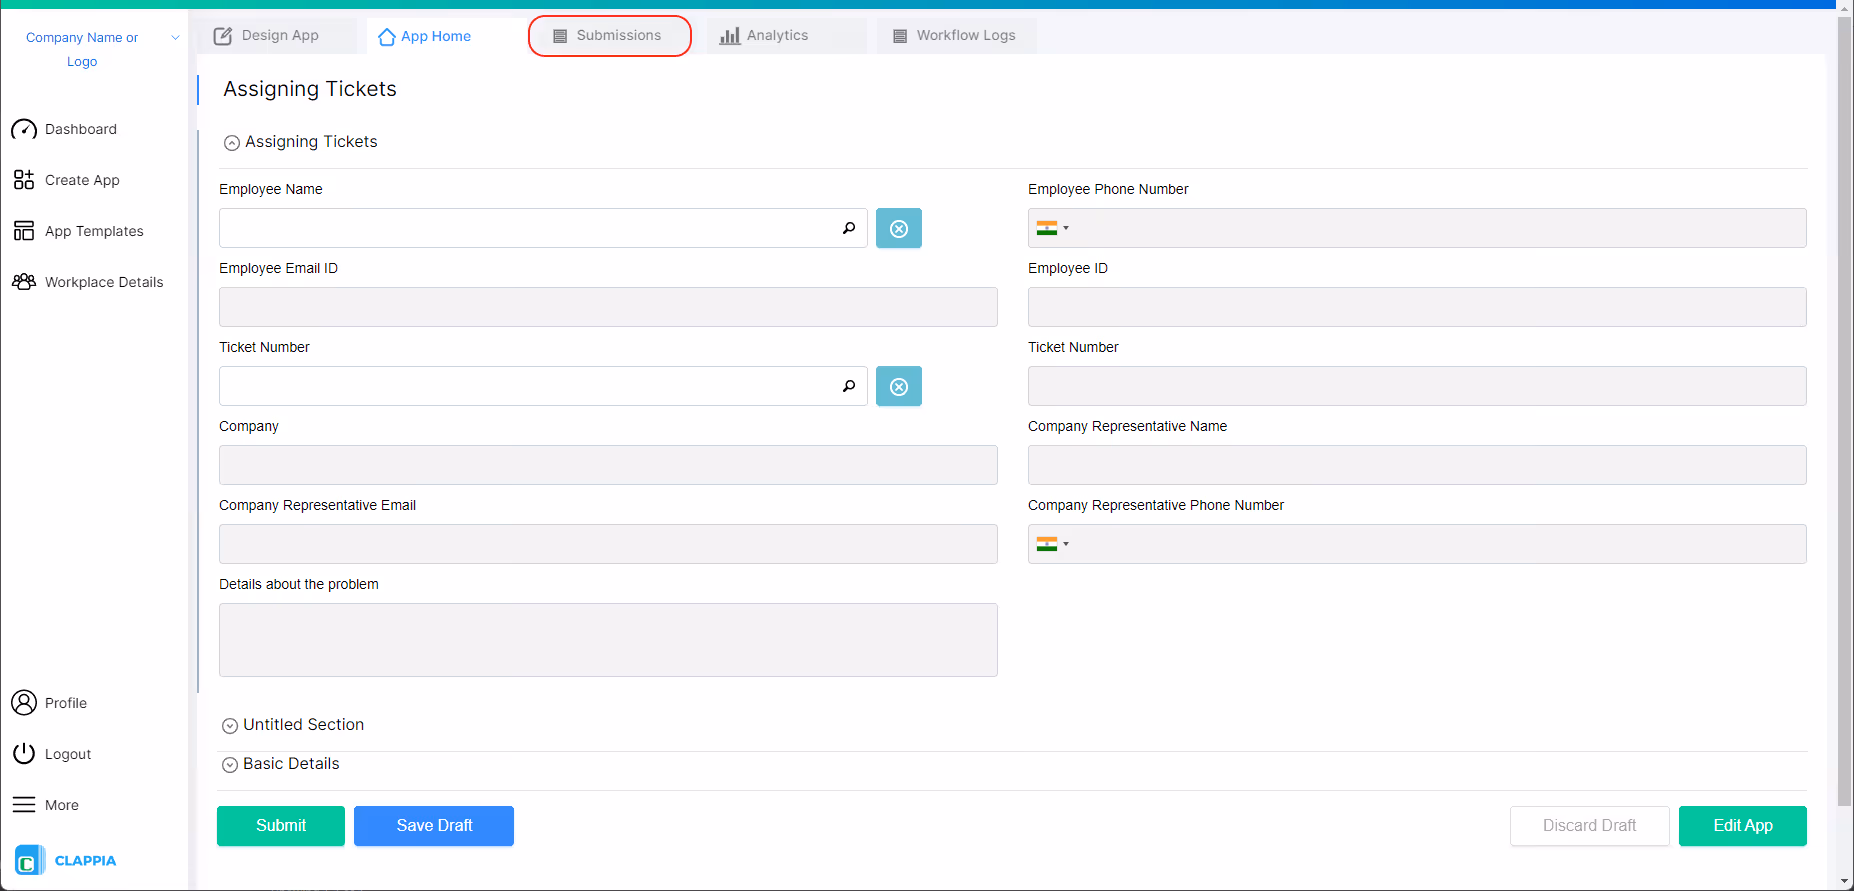
In the web app, once you have clicked on the 'Submissions' tab, you will see a table with all your submissions. You can click a row to see the details of a submission on the right panel.

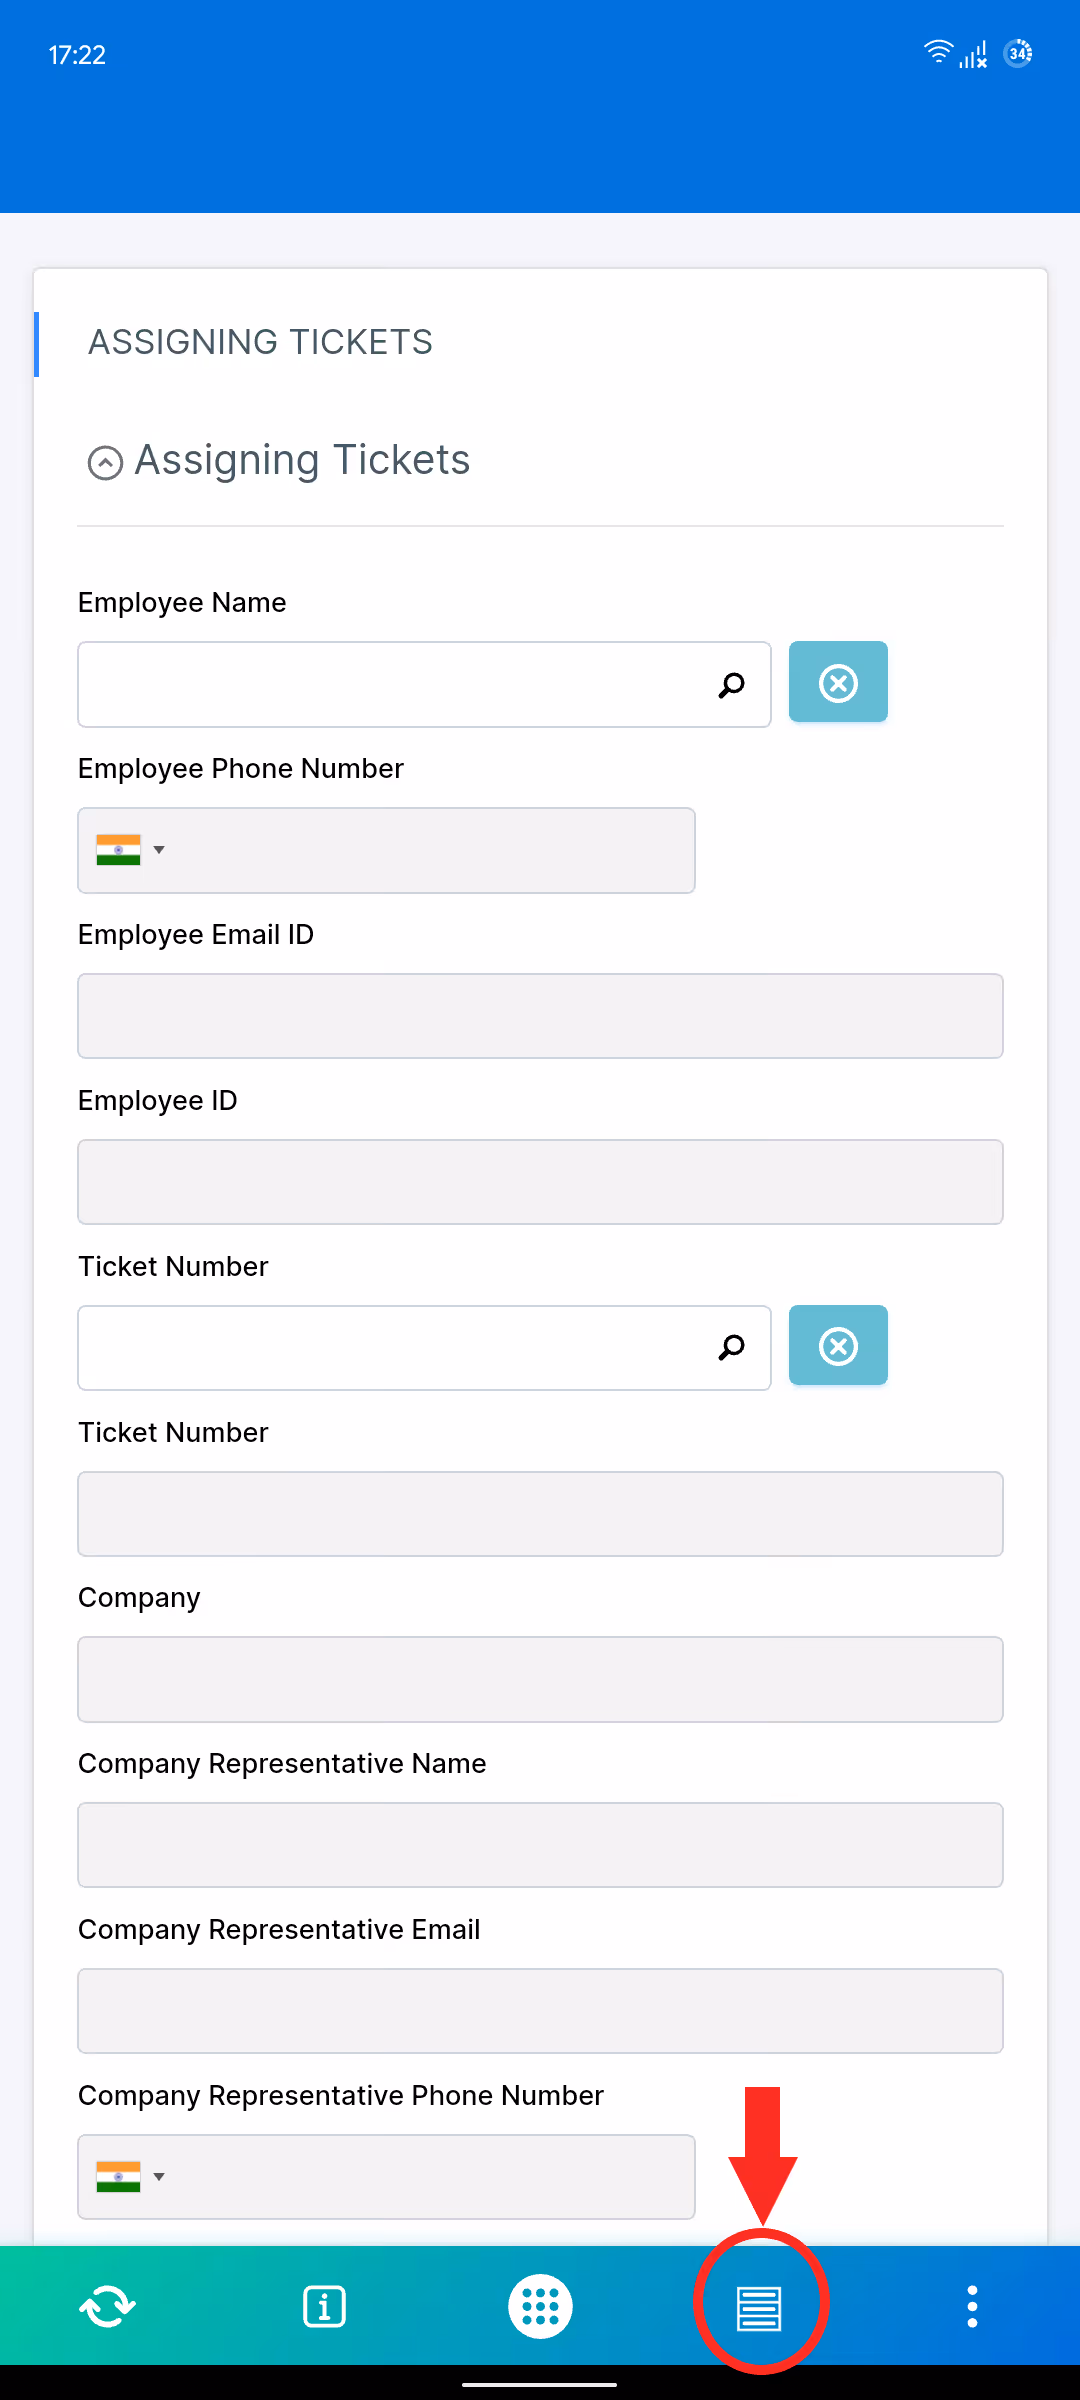
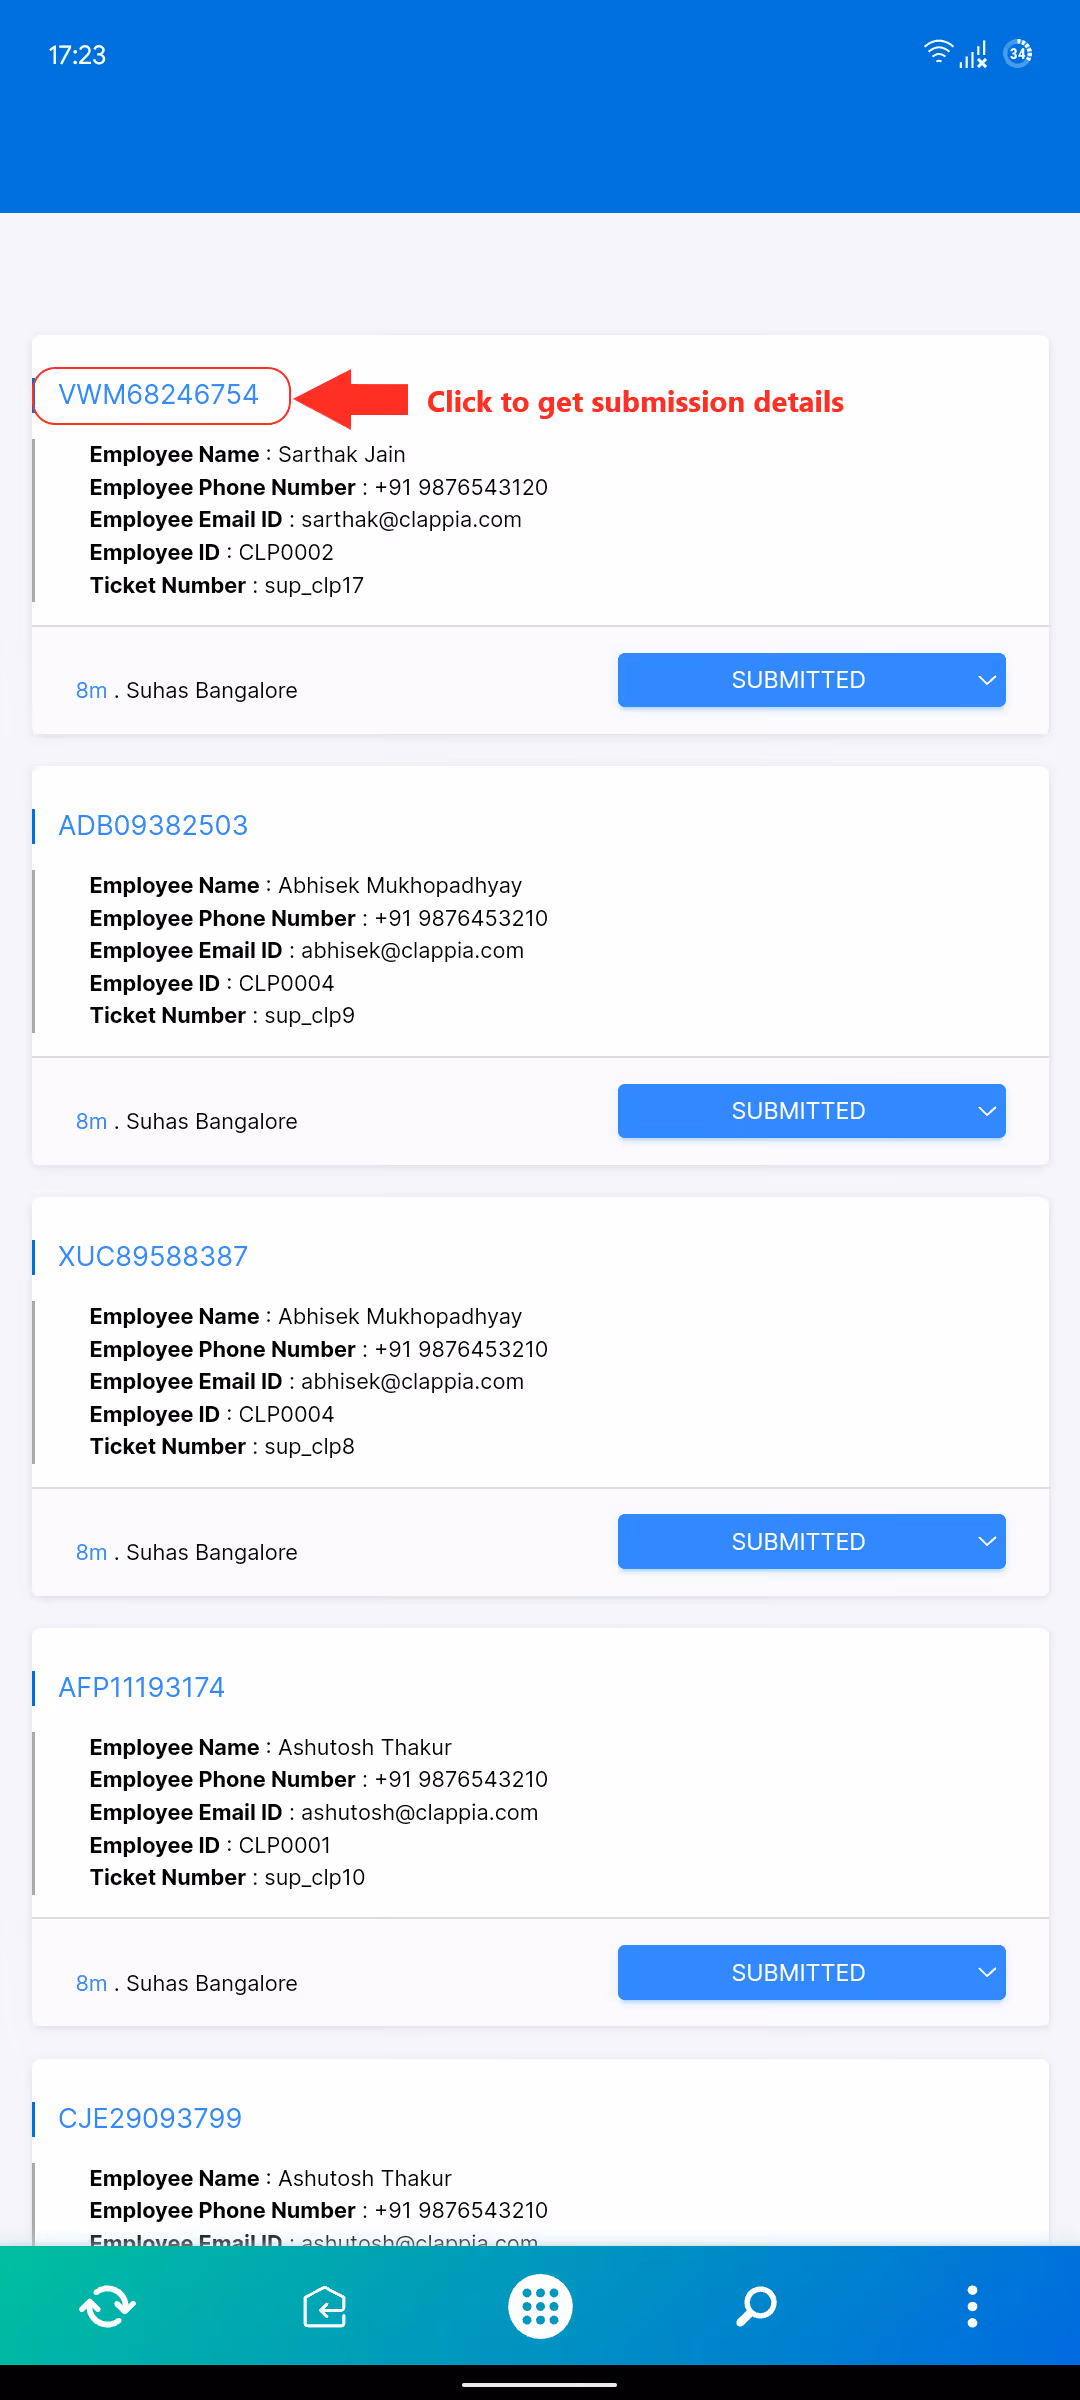
In the Clappia mobile app, on clicking the Submissions icon, you will land on a screen as shown below with all the submissions in a card view. You can click on the Submission ID to fetch all details on the submission.
You can view a specific set of submissions by narrowing them down using the filters and filtering options available on the web app and the Mobile App.
In the web app, click on the Search/Filter bar to filter the submissions.

The Search/Filter bar will expand giving you various options to filter the submissions.
All Fields - The list of all the variables in your app that you can select to filter.
Contains - The list of all the filtering options.
Search/Filter Bar - Type in the custom text you wish to filter.

Add more filters ‘+’ - Add another set of filters.
You can also add another set of filters by clicking on the ‘+’ icon. Another set of filters will appear right below the previous filter.
AND - Click on this option if you want to consider all the filter conditions. (In this image there are two)
OR - Click on this option if you want to consider either of the filter conditions. (In this example, either the first or the second)

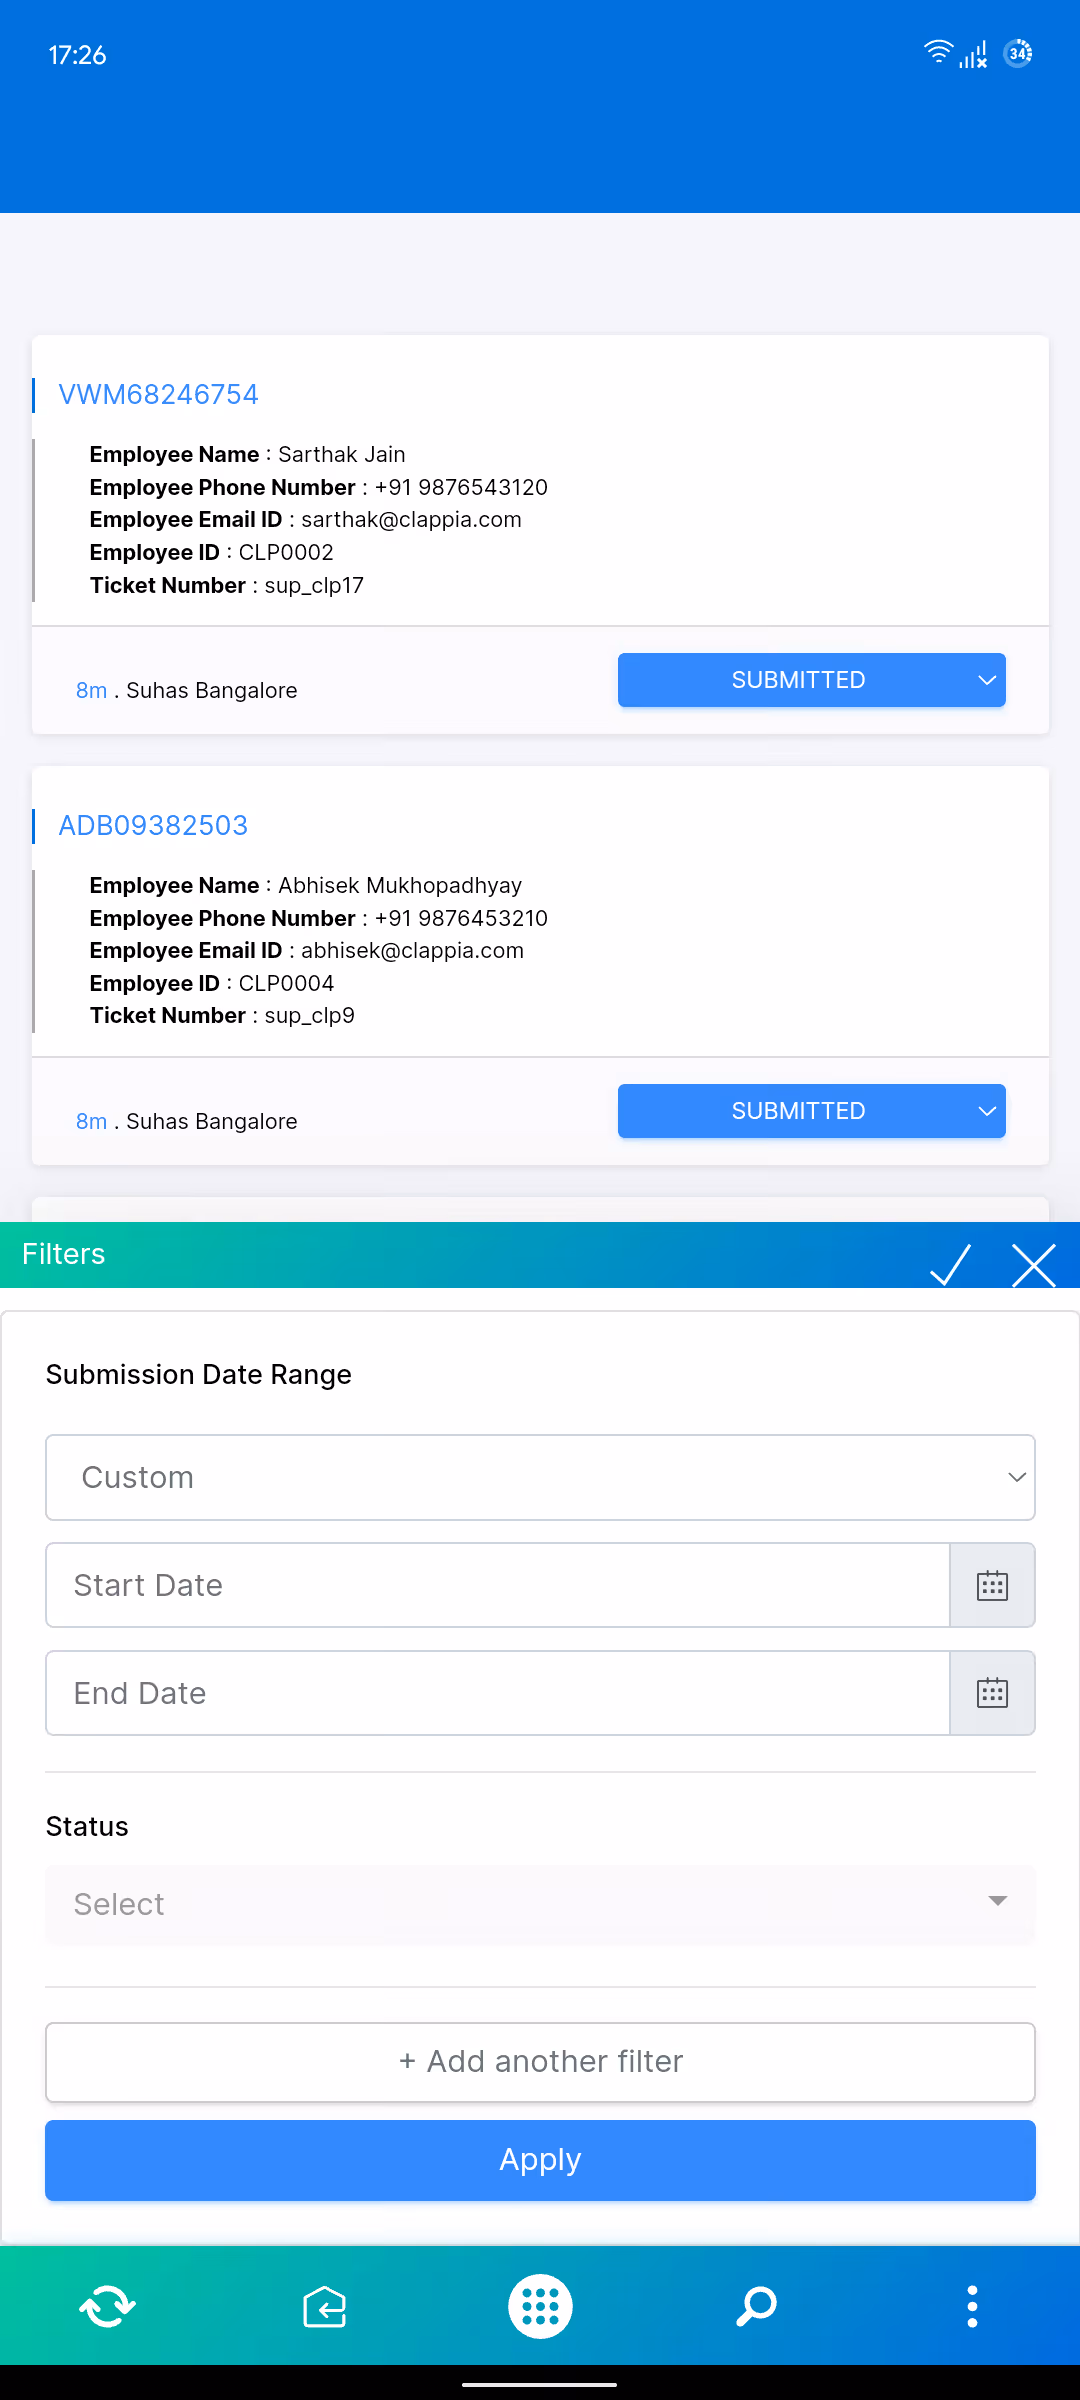
In the mobile app, once you click on the Submissions icon and get the list of submissions, click the filter icon (the magnifying glass icon) at the bottom to filter the submissions.
To download submission data from an app, in the web app, go to App Home > Submissions tab. At the top, you will see a Download icon. Clicking on it will open a right panel where you can choose to download the submissions in Excel or CSV format.


If there are too many submissions, the download file will be sent to your email inbox instead.
You can also use the search bar to filter submissions before downloading, ensuring that only the necessary data is exported.


If you want to download only specific submissions, you can select them manually by clicking on the checkbox next to each submission. Once selected, a right panel will appear where you can click on the Download icon at the top to download only the selected submissions. Then click on Download Files.
If any files (such as images, videos, or PDFs) have been uploaded in a submission (through the Camera, Image & Files block), they will appear as URLs in the downloaded data table. These links can be used to download and view the files.
Downloading submissions is only available on the web app. This option is visible only to admins and users with the necessary app permissions—others will not see the download option.
You can download all files uploaded by a user for a specific submission without downloading the entire submission data.

This will download all images, videos, or other files uploaded in that submission. This option is available only if the submission contains a Camera, Image & Files block where files have been uploaded.
You can also download all files from multiple submissions at once:

A folder containing all the files from the selected submissions will be downloaded to your system.
You can also use the search bar to filter submissions before selecting them. Once filtered, select all the submissions and follow the same steps to download their files.
Go to the submissions page and choose any submission. A right panel with the submission details will appear.
Click on the button with the ‘i’ icon (top of the right panel) which is the button to show the submission info.
.png)
The following details will be displayed in the submission info:
.png)
Print a copy of the selected submission.
Note: For the Print option to appear, a PDF template must be set up in the configuration first.
Select a submission and click the print button with the PDF icon.

The prompt for printing appears. Click Print.
Make sure your device is connected to a printer.
.avif)
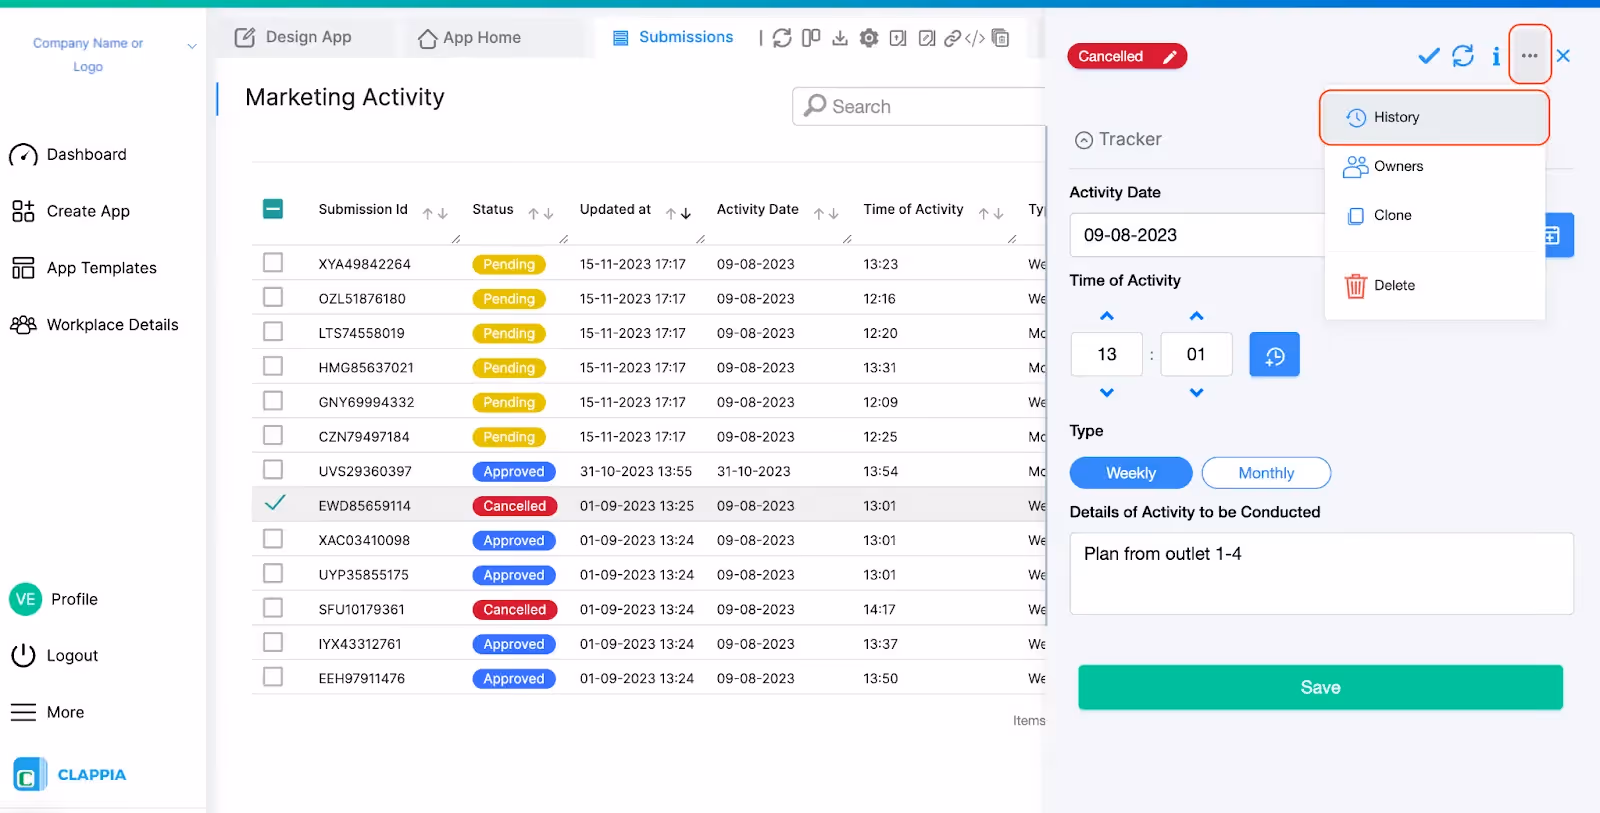
These are some more options for the submission. They include:
Owners
History
Clone
Delete
Assign the app users with the submissions.
Note: Only the users who are assigned to the app can be added as the owners of the submission.
Select a submission and the details of the submission will appear on the right panel. Click the More options (three dots) button to open a dropdown menu, then click Owners.
.png)
Select the users from the list.
.png)
After selecting the users, click Assign. The submission owners are assigned to the selected submission.

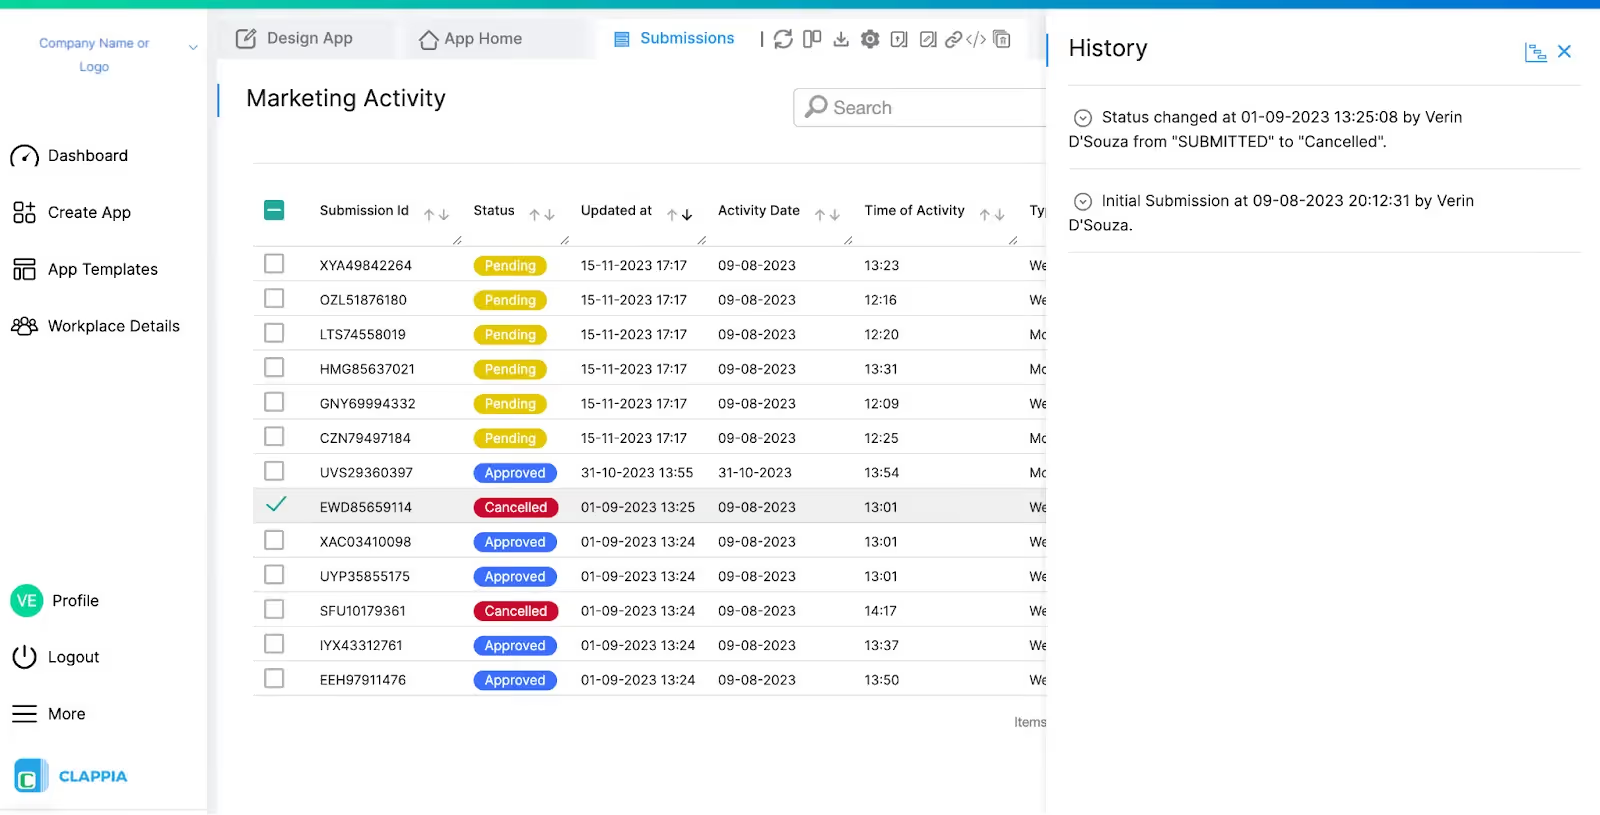
Check the history of the submission with respect to edits and adding/removing submission owners.
Select a submission and the details of the submission will appear on the right panel. Click the three dots icon to open the More options dropdown, then click History.
A detailed view of the history of the submission, starting from the creation of the submission, will be displayed.
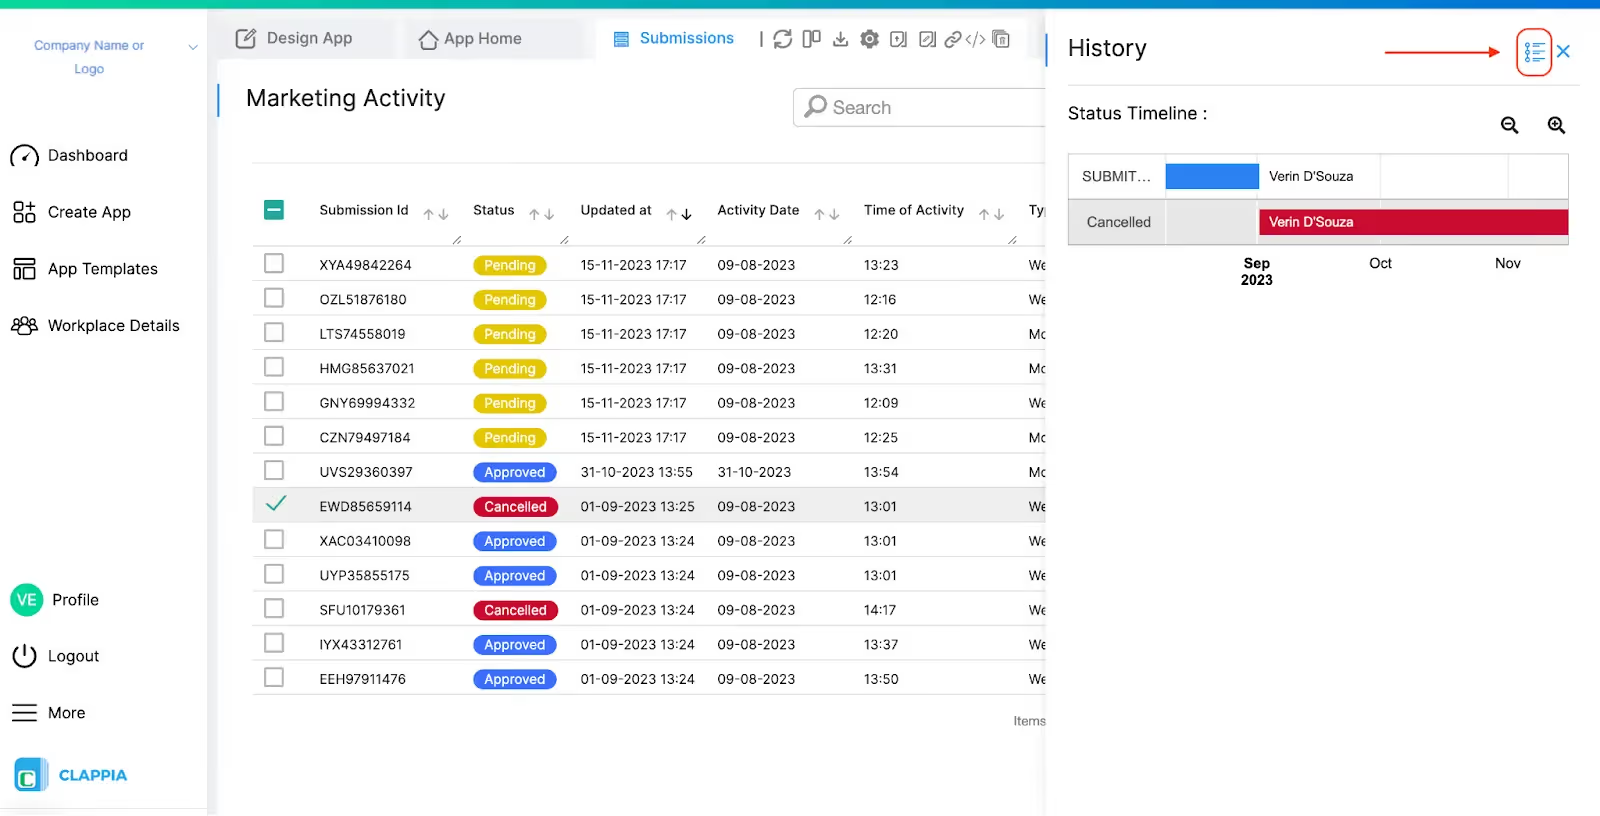
If statuses are configured for the app, click on the timeline option to view status change history of a submission.
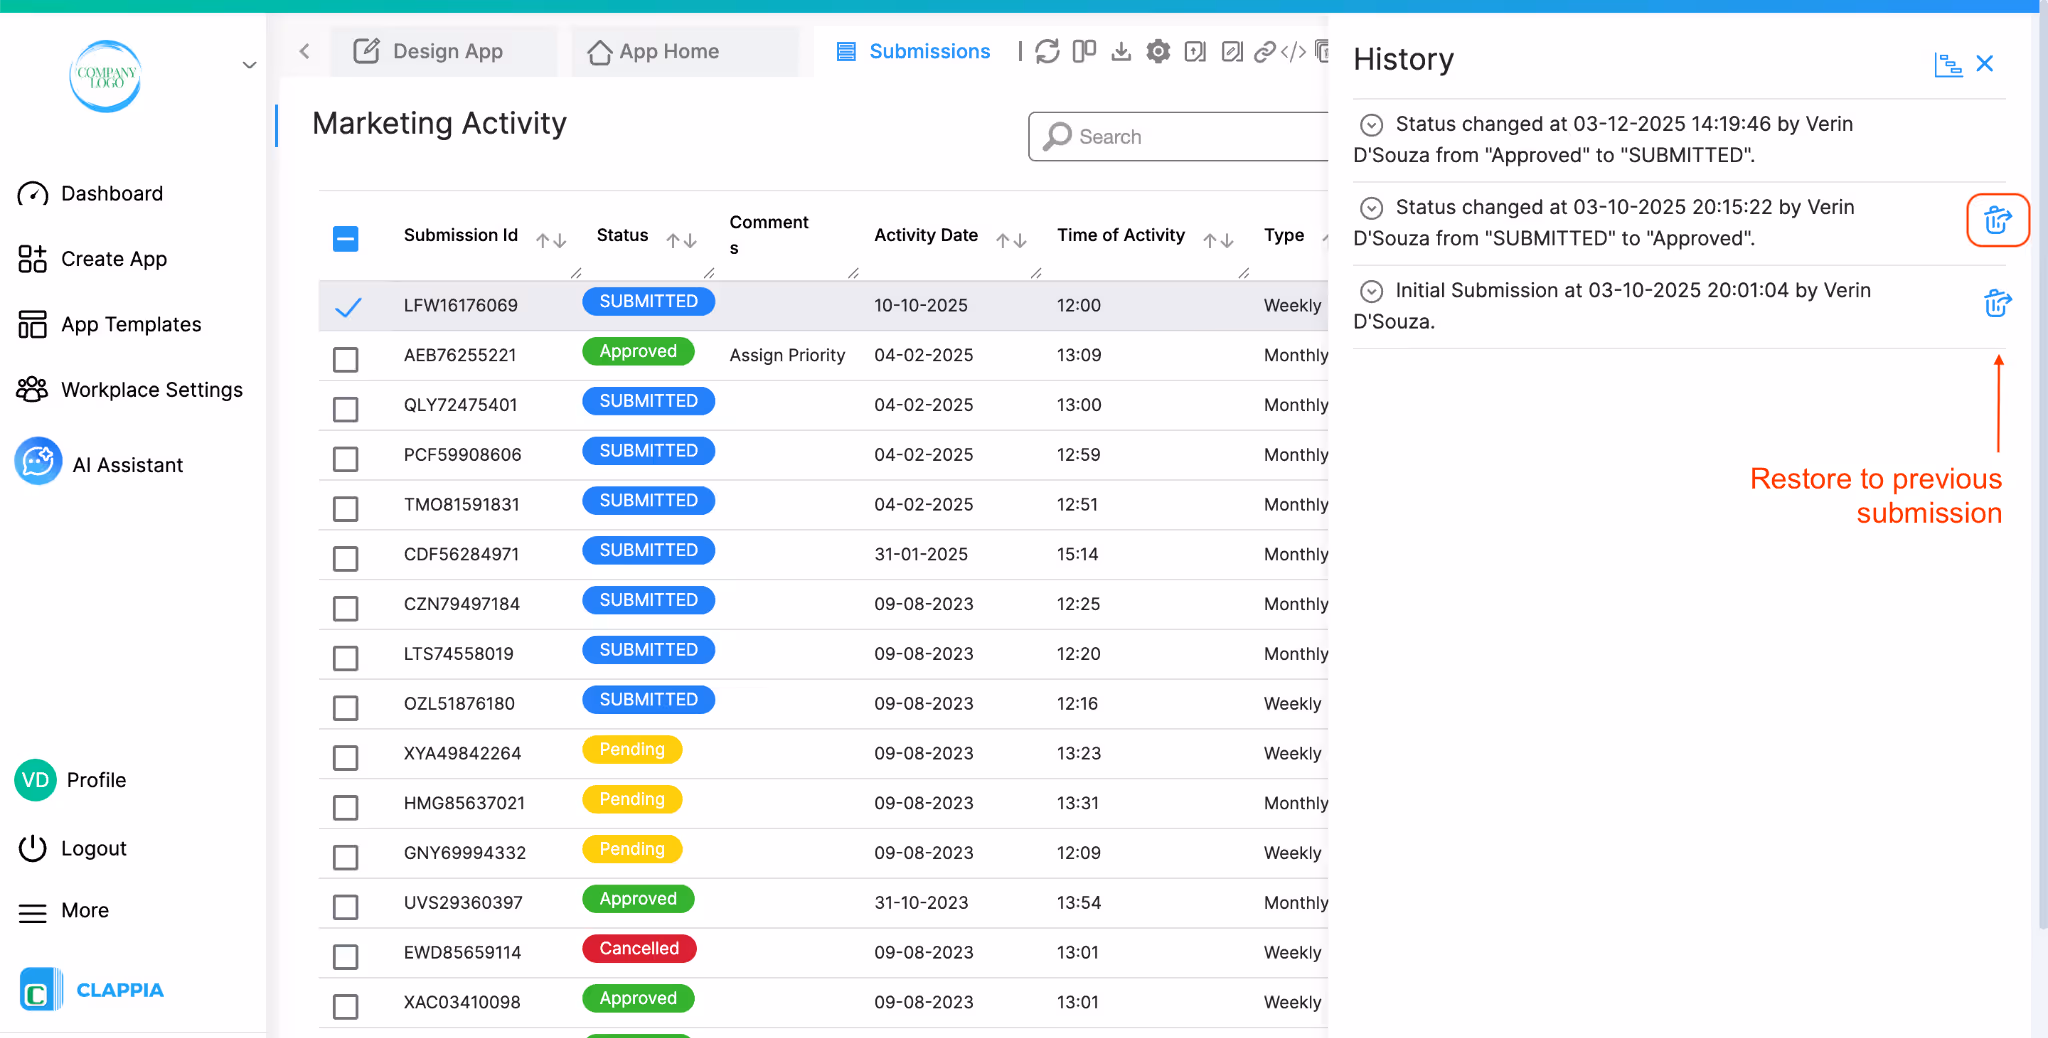
When a submission has two or more updates, the History panel will show a restore icon next to each earlier version. This allows you to restore the submission’s data to any of those previous versions. You can also restore it back to the latest version at any time.
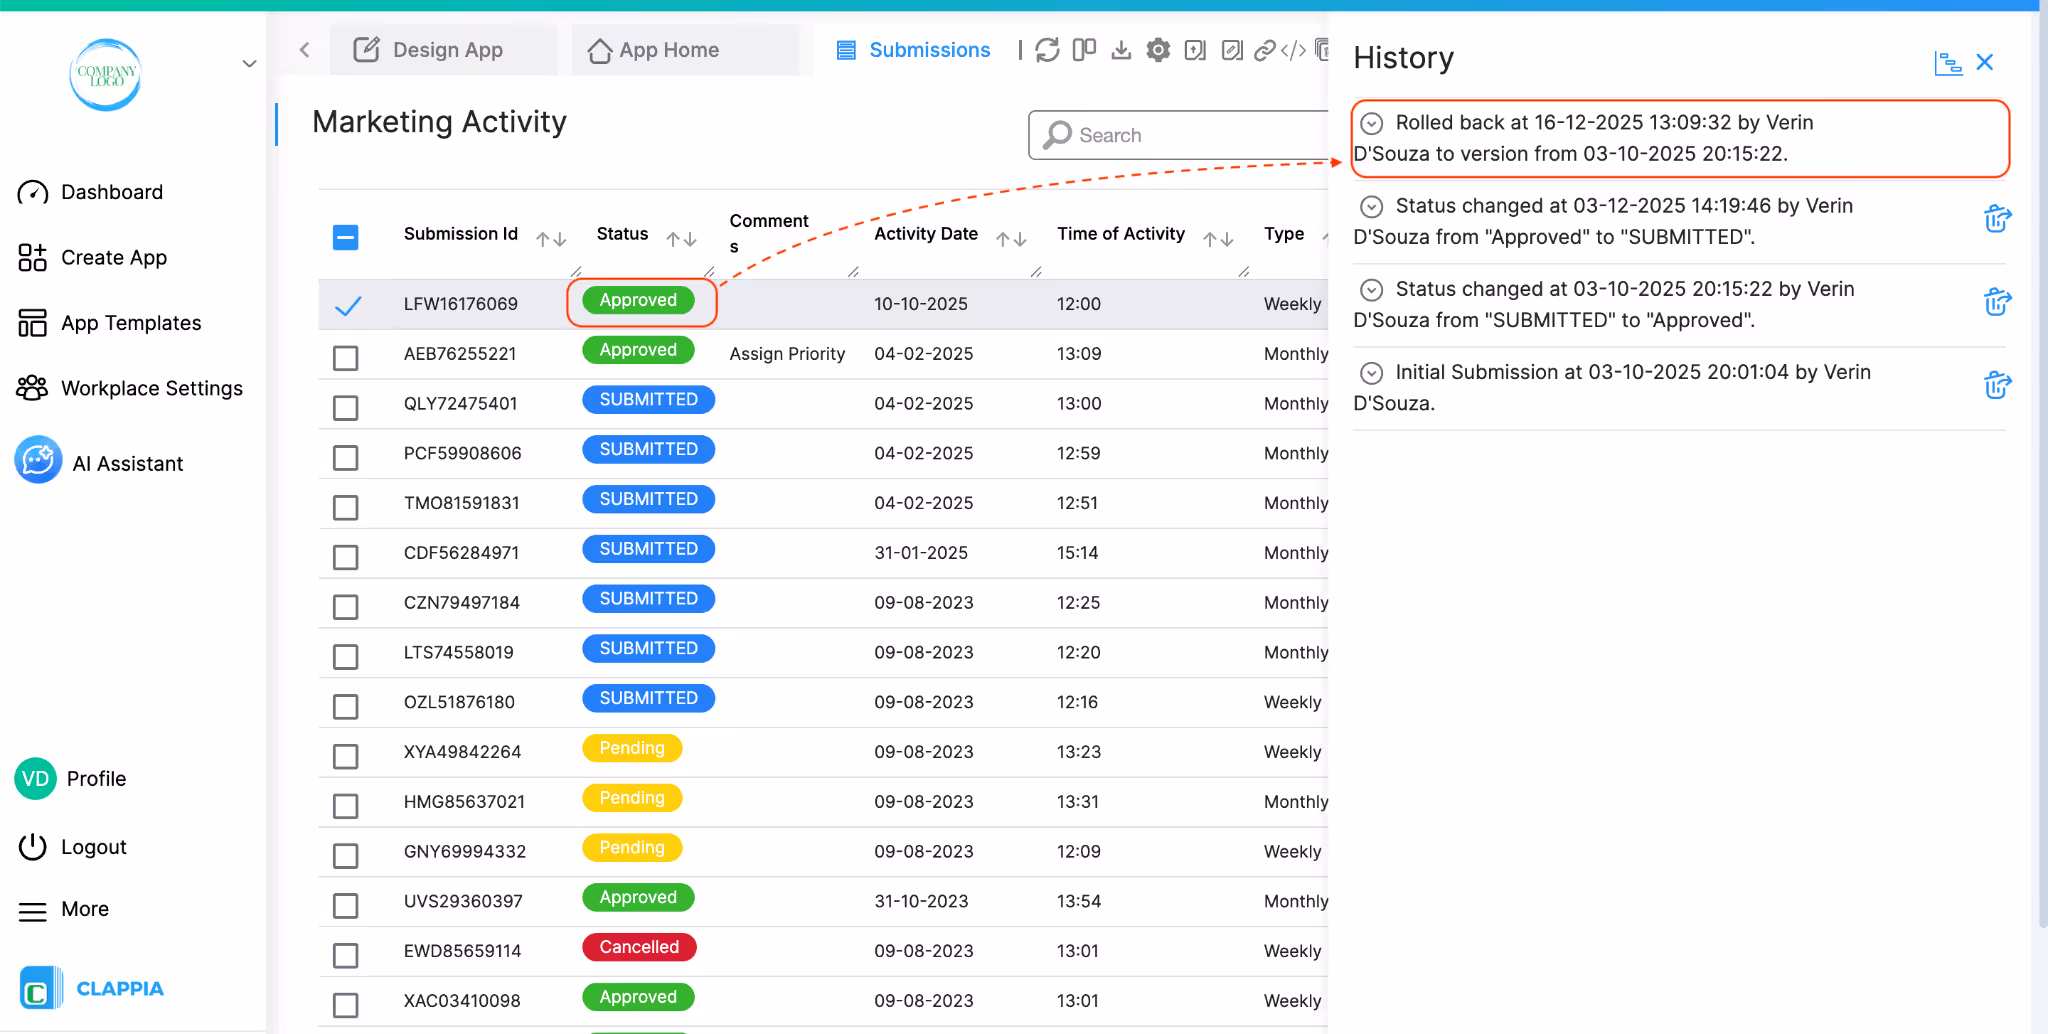
Each update made to a submission appears in the History panel as “Changed at …”, and expanding it shows what was modified. When you restore a submission to an earlier version, the History panel records this as “Rolled back …”, indicating which version the submission was restored to and when the restore action happened.
Restoring a submission only updates the data to the selected version. It does not trigger any workflows, even if workflows are normally set to run on submission edits. This ensures that restoring history is safe and does not cause any automated processes to run unintentionally.
Create a duplicate copy of an already existing submission as a new submission using the Clone option.
Select a submission and the details of the submission will appear on the right panel. Click the More options (three dots) menu, then click Clone.

The selected submission is cloned and you’ll be prompted to create it as a new submission. Click Submit.

The submission is cloned and a new submission is created. Refresh the submissions table.

You can temporarily remove submissions while retaining the option to recover them later or permanently delete them. Click here to know more.
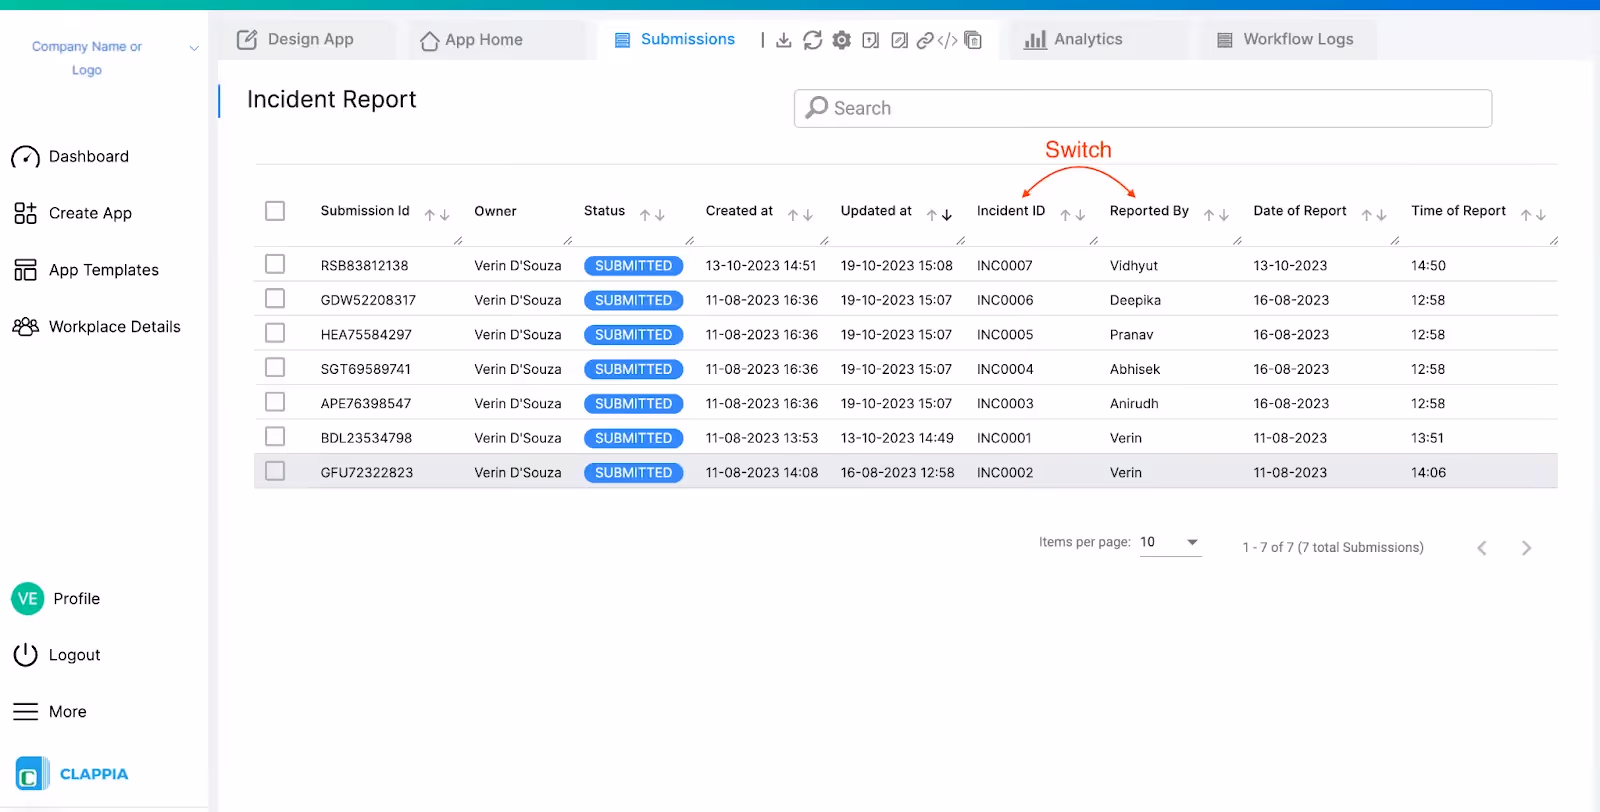
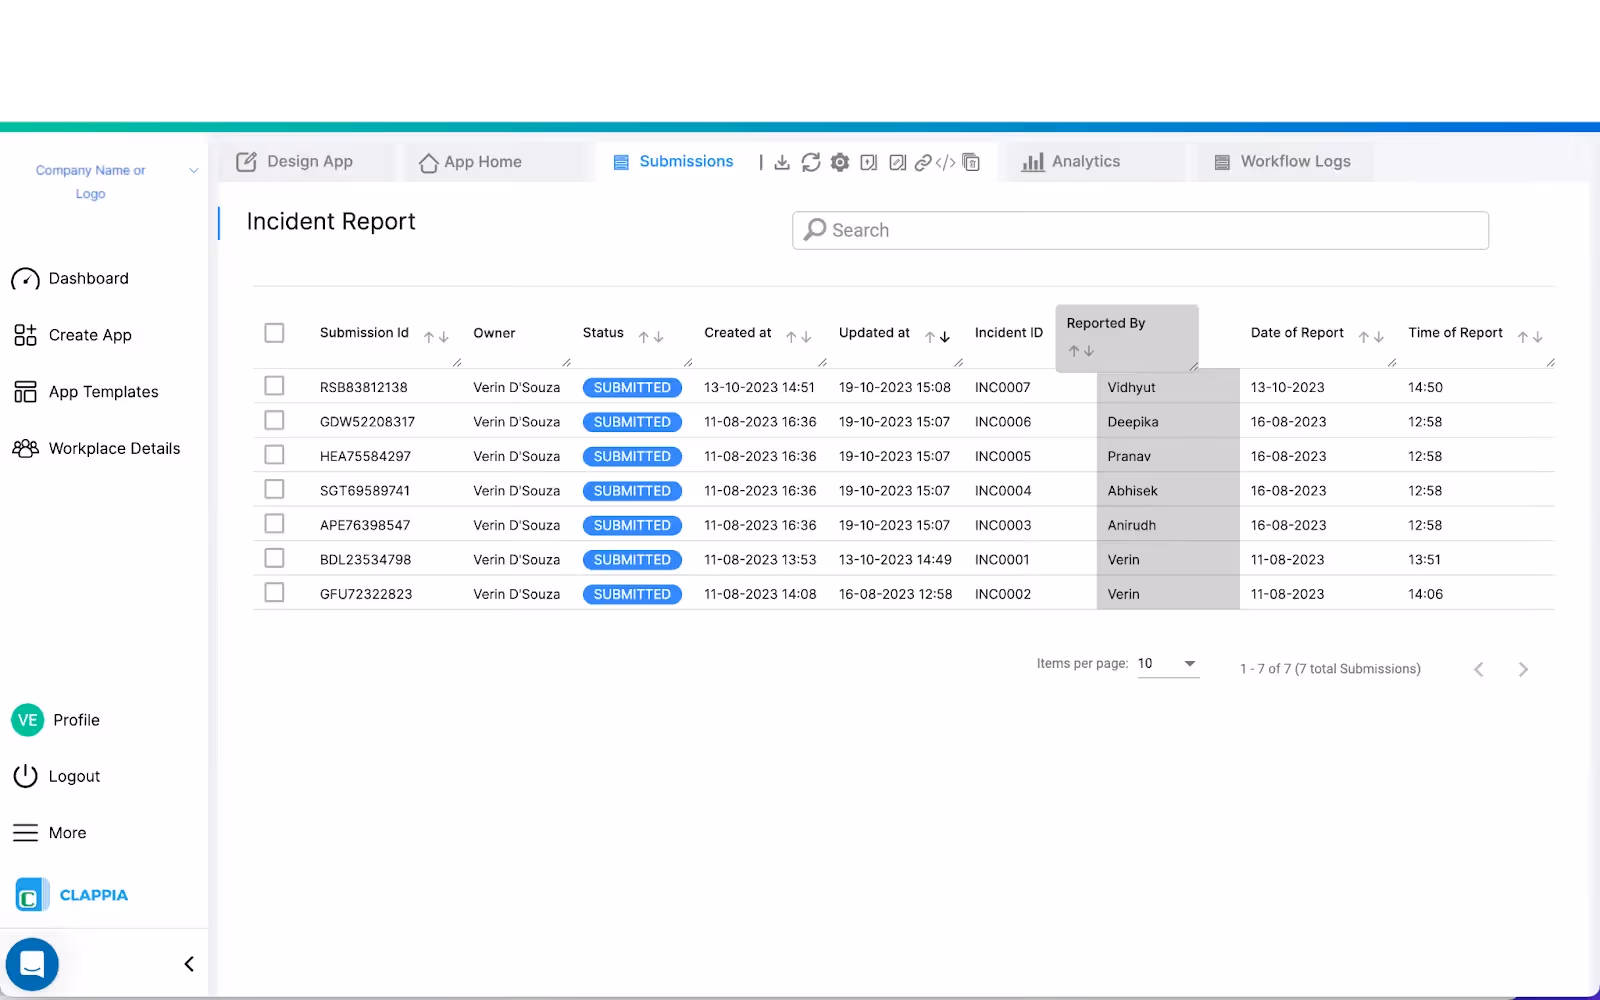
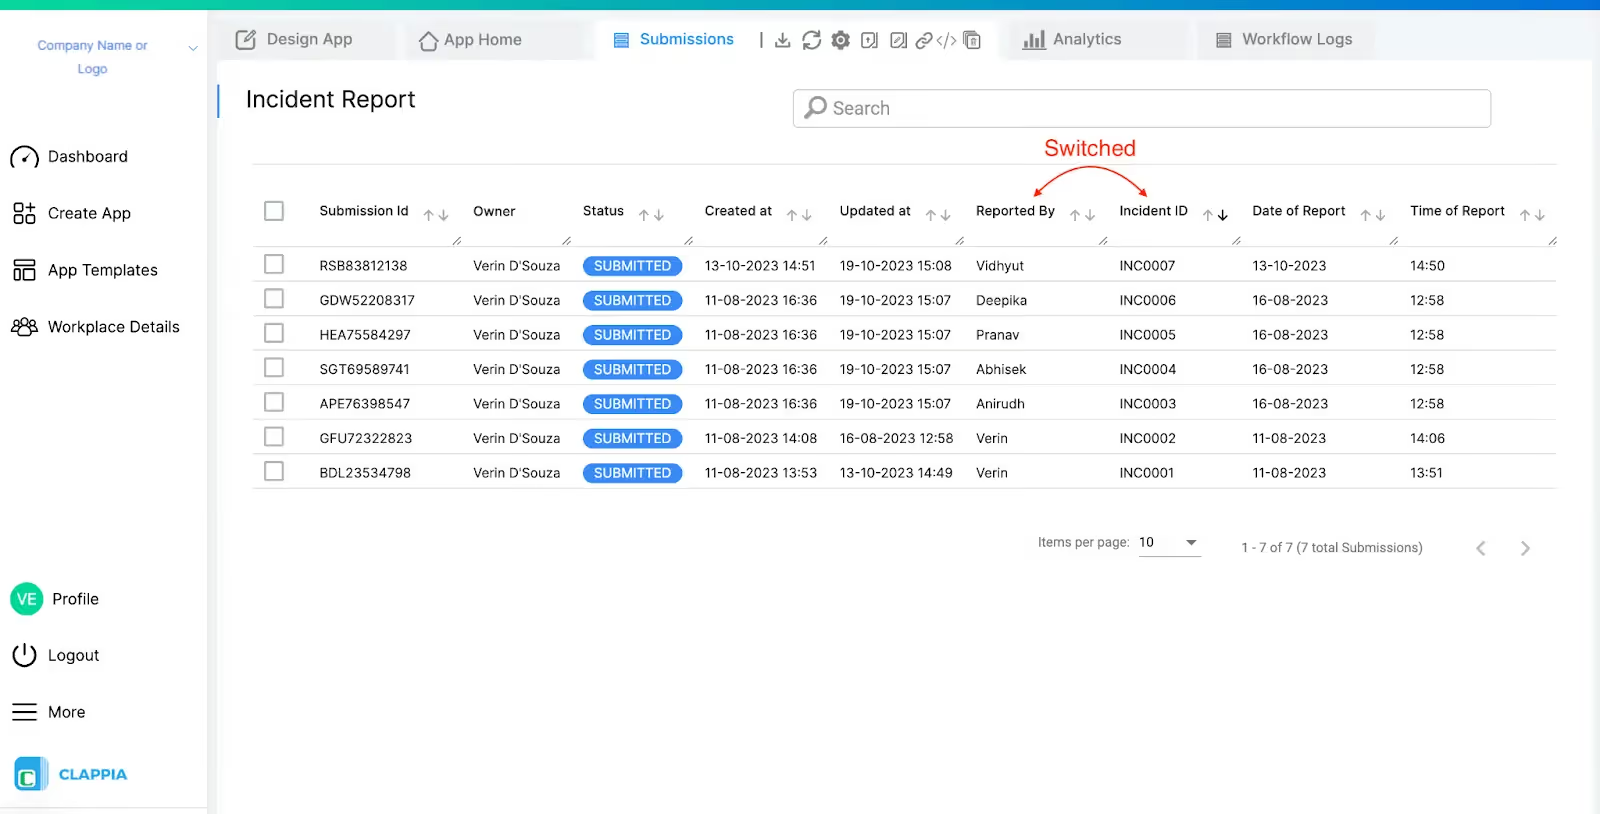
You can rearrange the columns in the submissions table by clicking on the column header and dragging it to the desired location.
L374, 1st Floor, 5th Main Rd, Sector 6, HSR Layout, Bengaluru, Karnataka 560102, India
3500 S DuPont Hwy, Dover,
Kent 19901, Delaware, USA


3500 S DuPont Hwy, Dover,
Kent 19901, Delaware, USA
L374, 1st Floor, 5th Main Rd, Sector 6, HSR Layout, Bengaluru, Karnataka 560102, India
.svg)
