
Still need help?

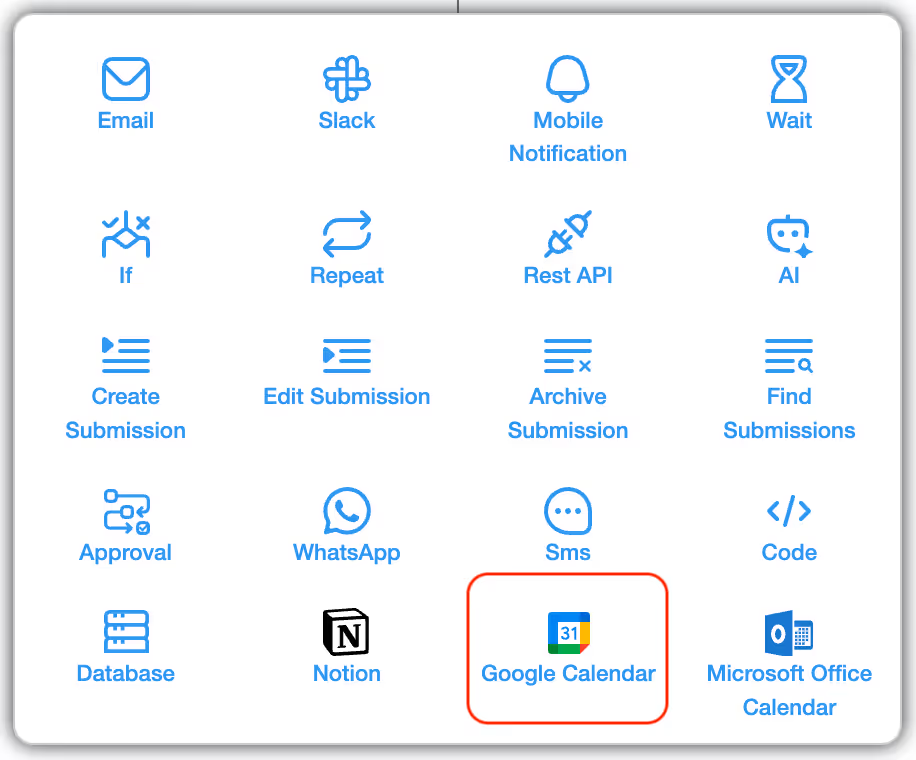
The Google Calendar workflow node allows you to automatically create calendar events in your Google Calendar whenever a workflow is executed in your Clappia app. This means that when a user makes a new submission, edits an existing submission, or when a status is changed (depending on where you place this workflow node), a corresponding event can be created in Google Calendar with all the necessary details.
This is particularly useful for scheduling meetings, reminders, or task deadlines directly from your app submissions, without needing to manually update your calendar each time.
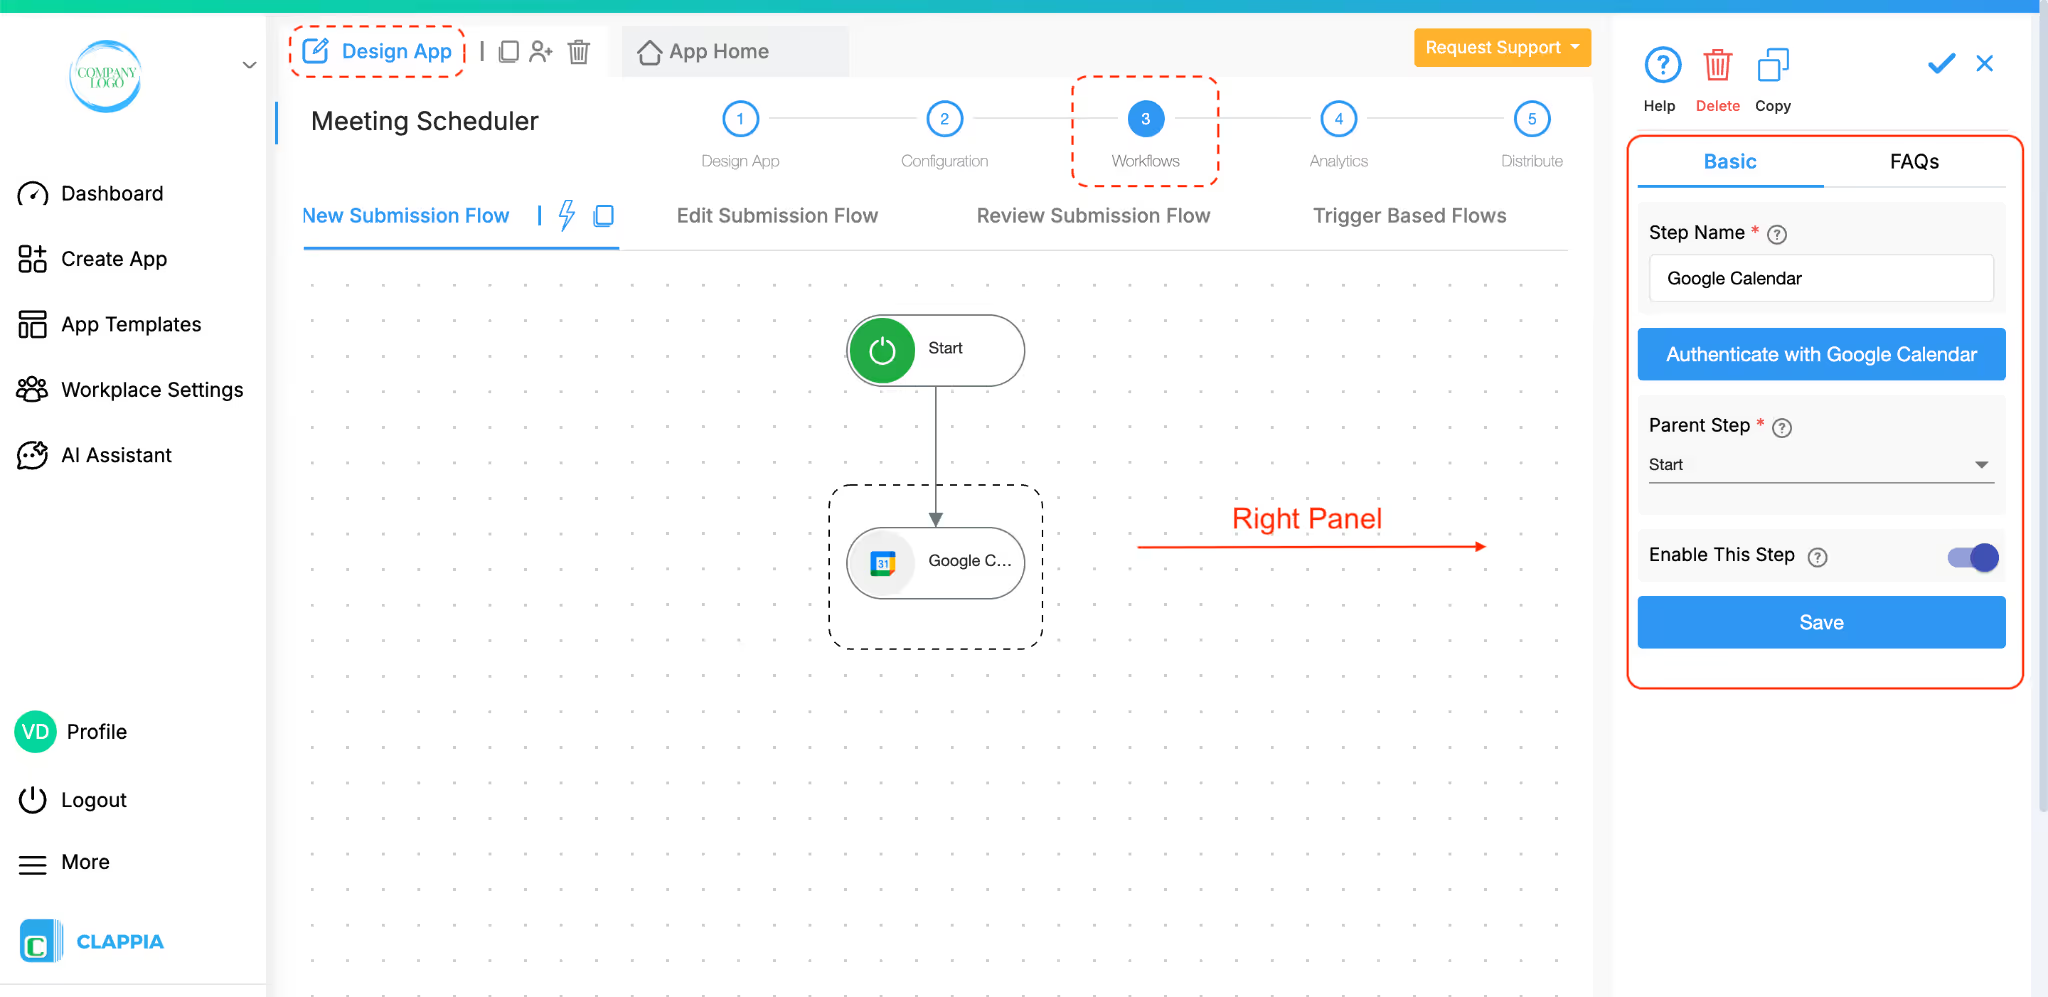
When you add the Google Calendar node, a configuration panel opens on the right side of the screen. This panel contains all the options needed to set up your integration.
You can provide a name for this workflow step in the Step Name field. By default, it will be named Google Calendar, but you can rename it for easier identification (for example: Create Meeting Event).
Before setting up the node, you need to connect it to your Google account.
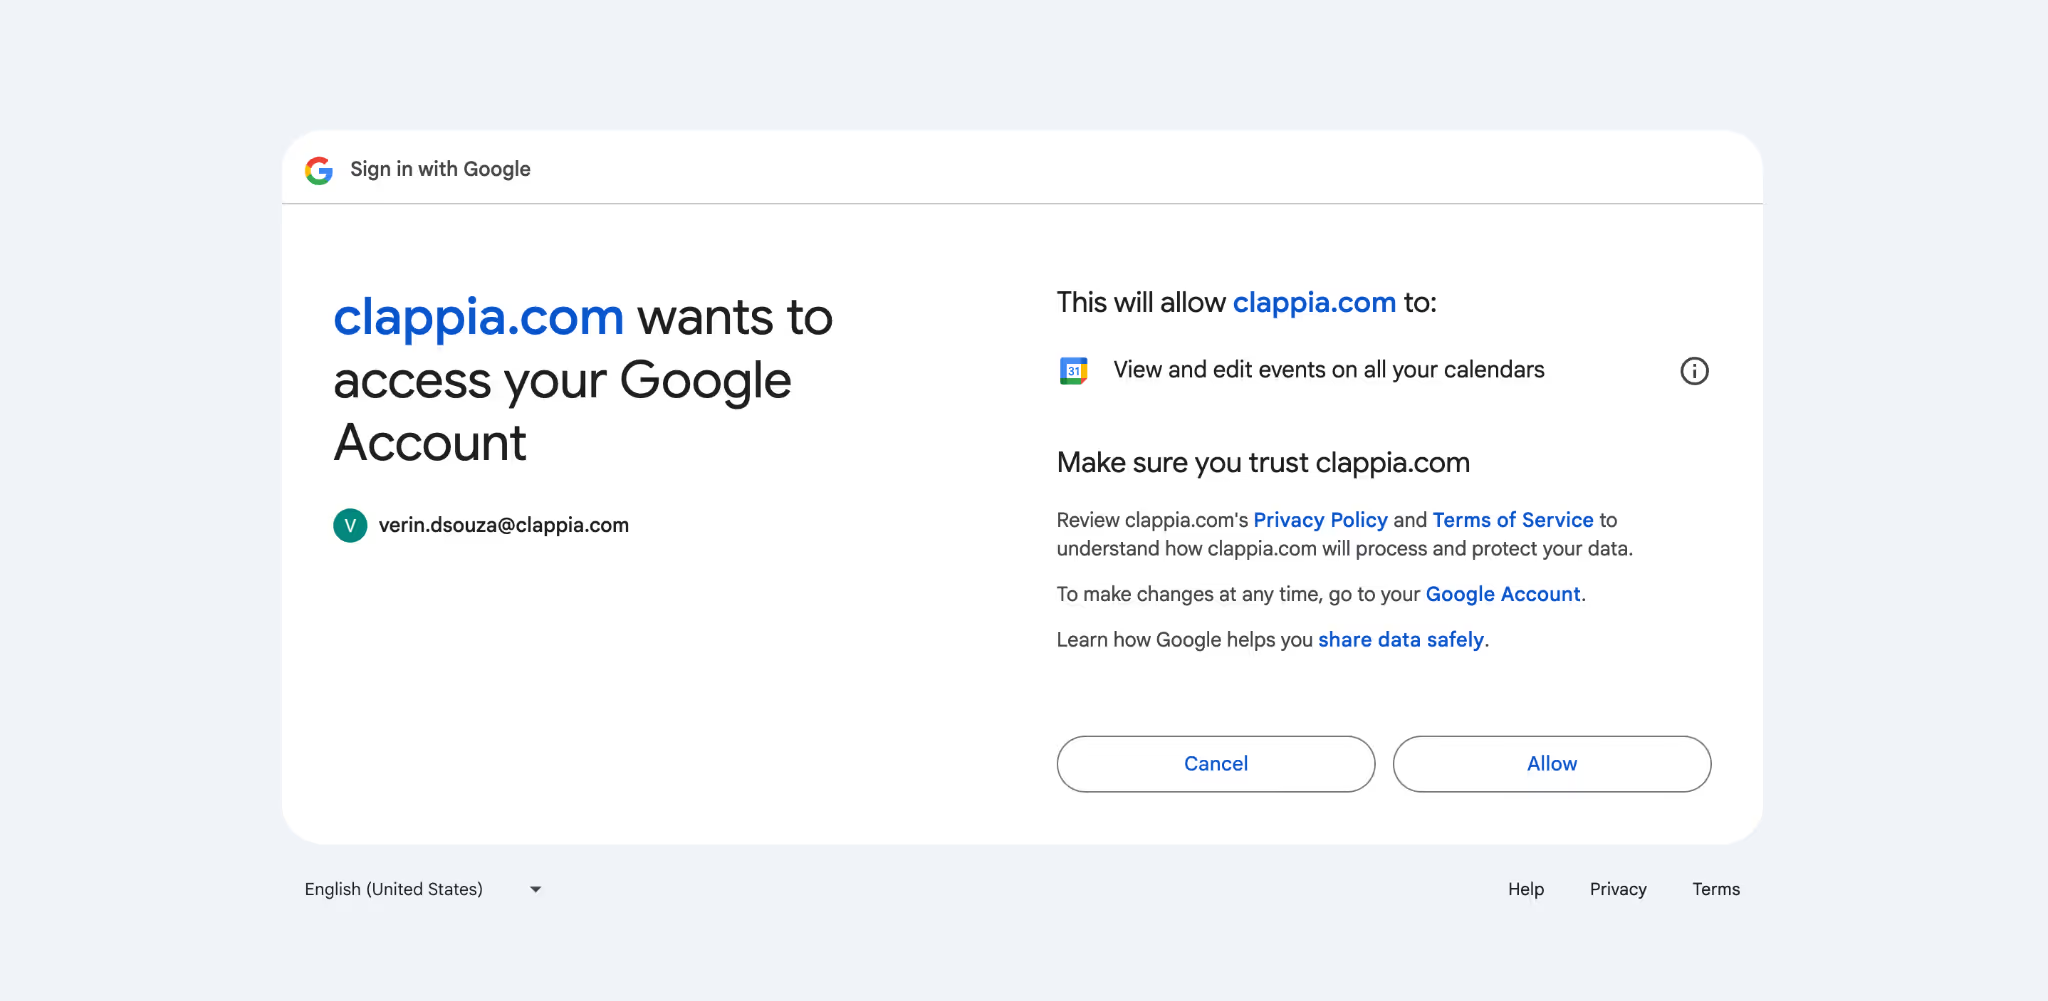
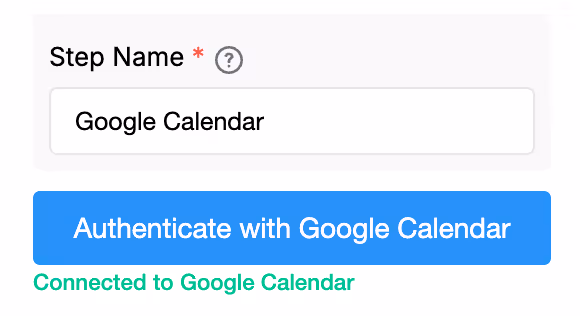
Note: You don’t need to authenticate again once connected. However, if you close the panel without saving the configuration, you may need to reconnect to set it up again.
After authentication, you will get additional options to configure. These options set up the Calendar event details.
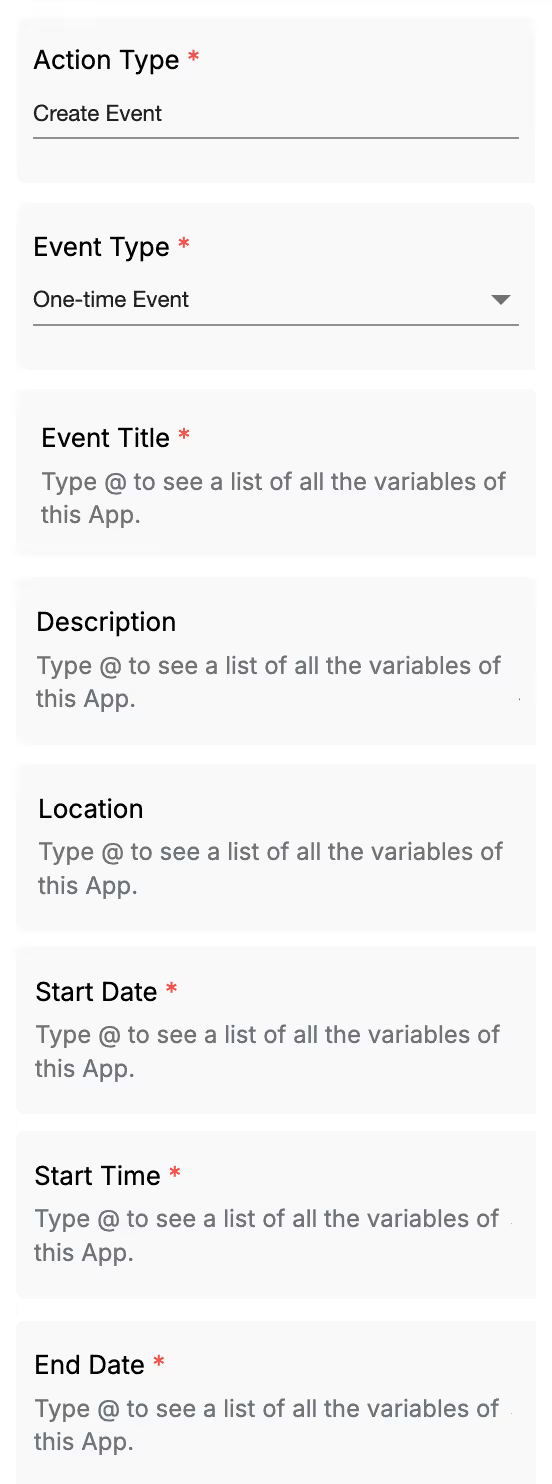
The Google Calendar node currently supports the action type: Create Event.
This action will create a new event in your connected Google Calendar whenever the workflow executes.
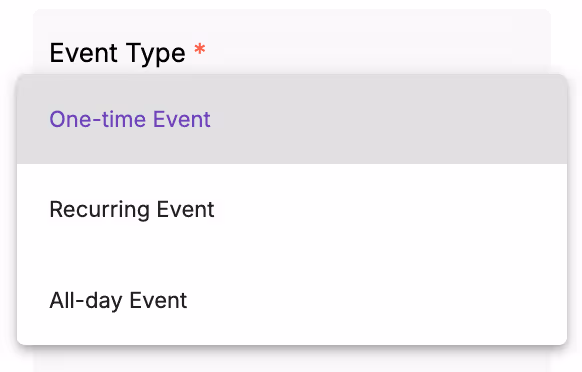
After selecting the action type, you need to specify the Event Type. There are three available options:
Next, configure the details of the calendar event. These fields can either be filled manually or dynamically using variables from your app’s fields.
Using the @ symbol ensures that data entered by users into the app is dynamically captured and inserted into the calendar event, saving you from re-entering it manually.
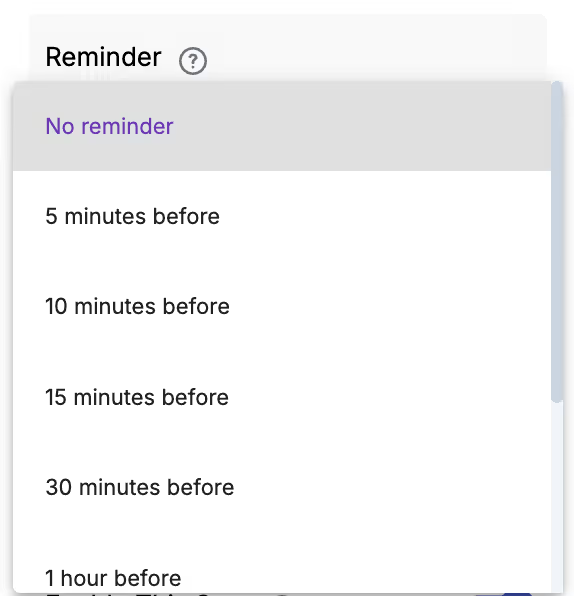
You can set a reminder for the event so attendees receive a notification before it starts. The dropdown provides different options for how early the reminder should be triggered.
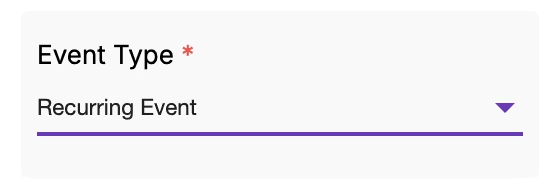
If you select Recurring Event as the event type, an additional field appears: Recurrence Rule. This is a mandatory field.
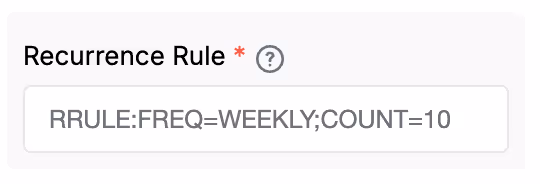
The recurrence rule follows the standard iCalendar format (RRULE). For example:
RRULE:FREQ=WEEKLY;COUNT=10
So, the above example means that the event will repeat weekly for a total of 10 occurrences.
You can customise the frequency and count as per your requirements.
Once all the options are set, click Save. The workflow node is now ready and will create calendar events according to your configuration whenever the workflow runs.
Set the parent step for the node. This ensures the node is executed only after its parent step (the workflow node above the Google Calendar node) completes.
Toggle this option to enable or disable the workflow step. Disabling a step skips its execution (and all workflow nodes below it) during the workflow.
Suppose you want to automatically schedule meetings based on user submissions and have a meeting scheduler app (or any other app from which you want to send out calendar invites).
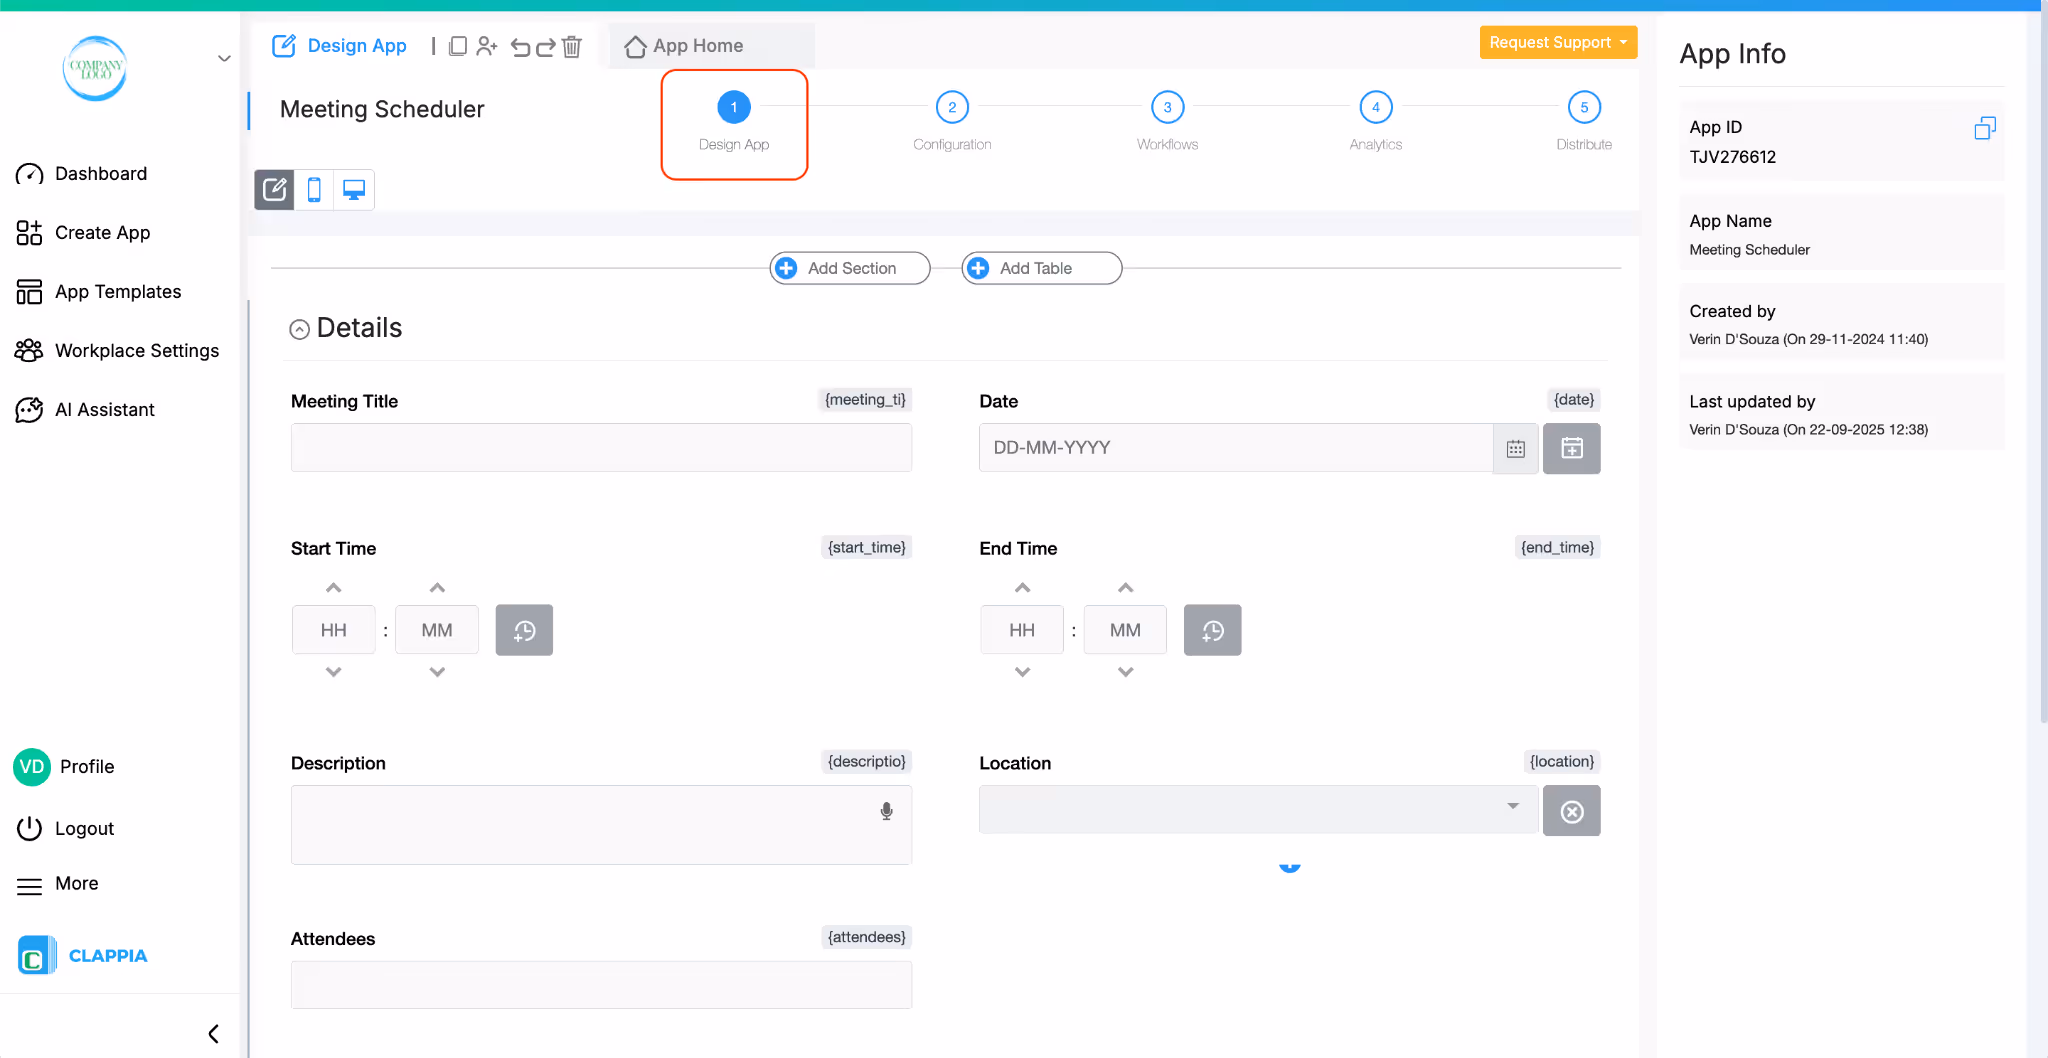
The app contains:
These fields are mapped to the Google Calendar workflow node accordingly and the event type set to One-time Event.
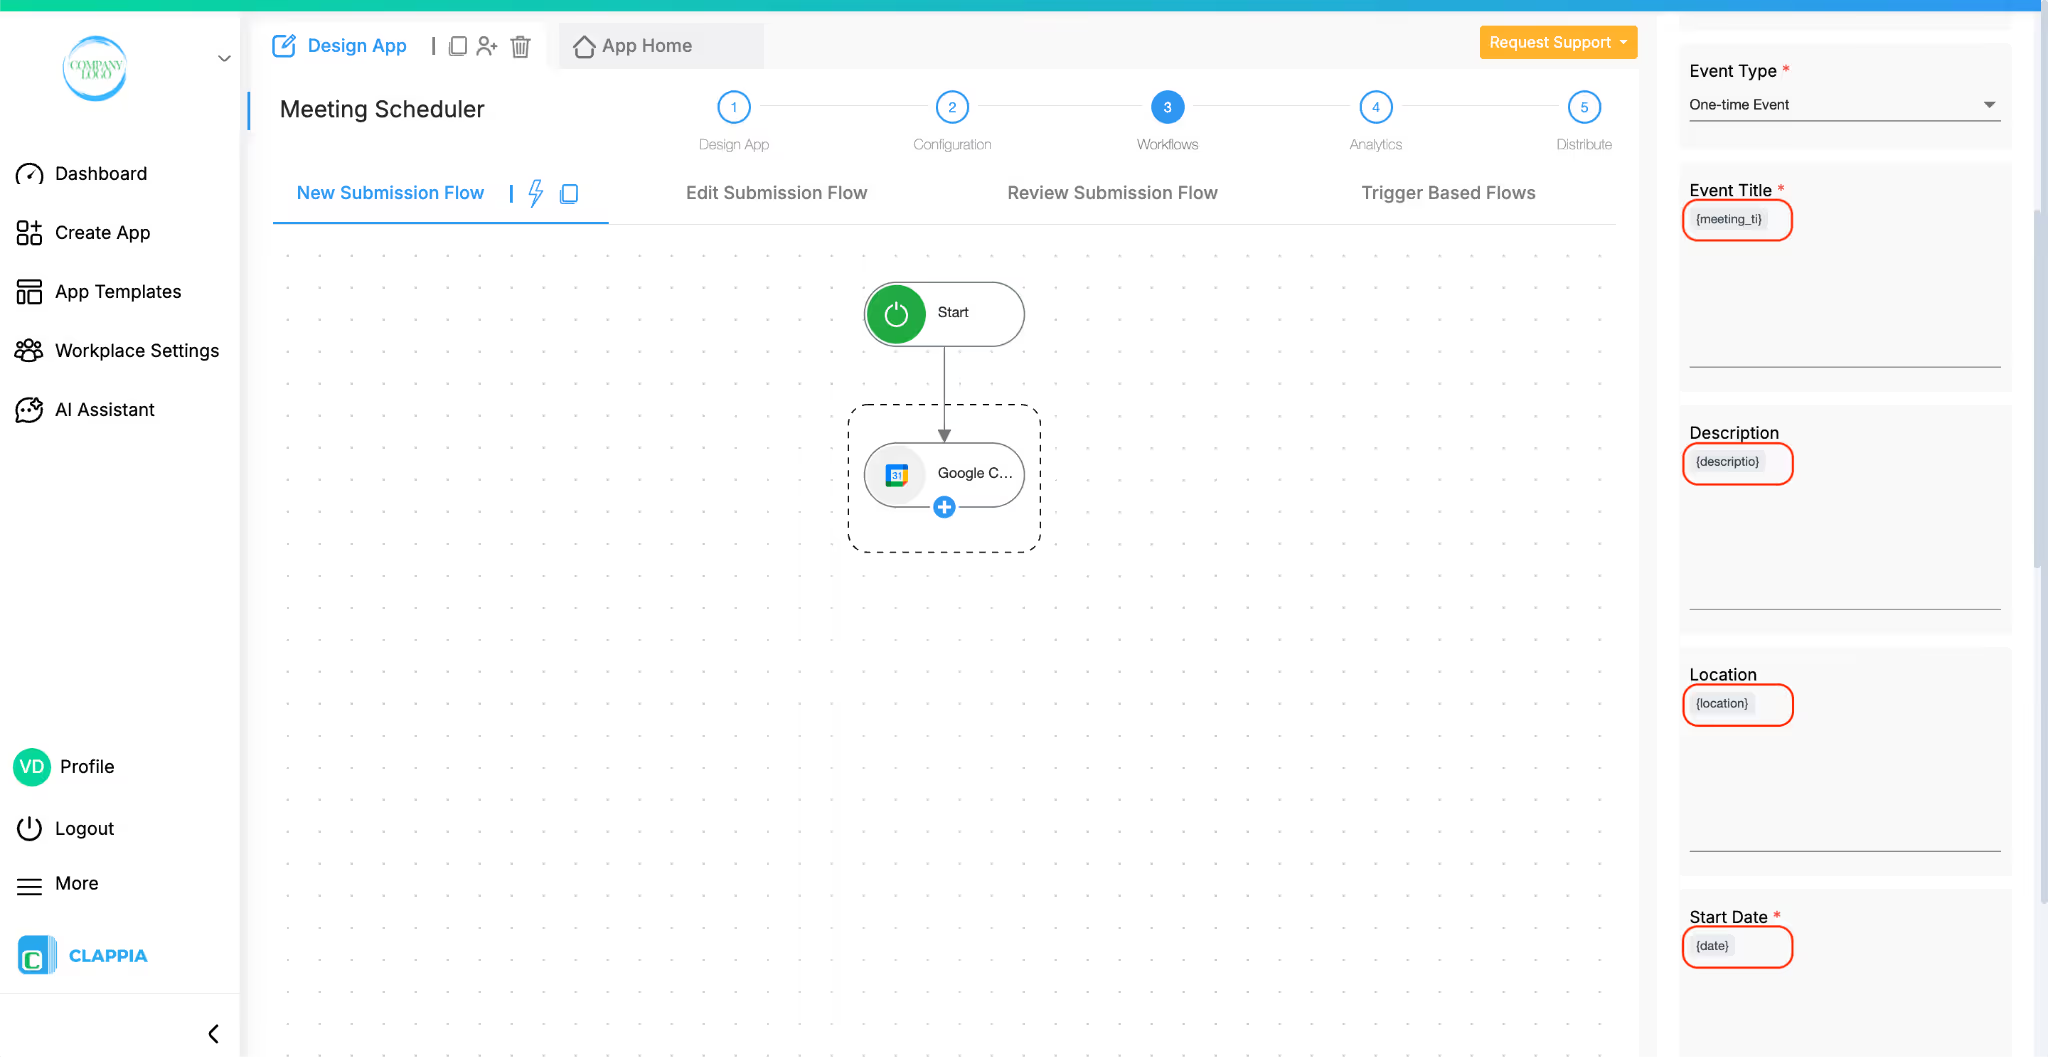
Whenever a user makes a submission in the app, an event is automatically created in Google Calendar and invites are sent to all listed attendees
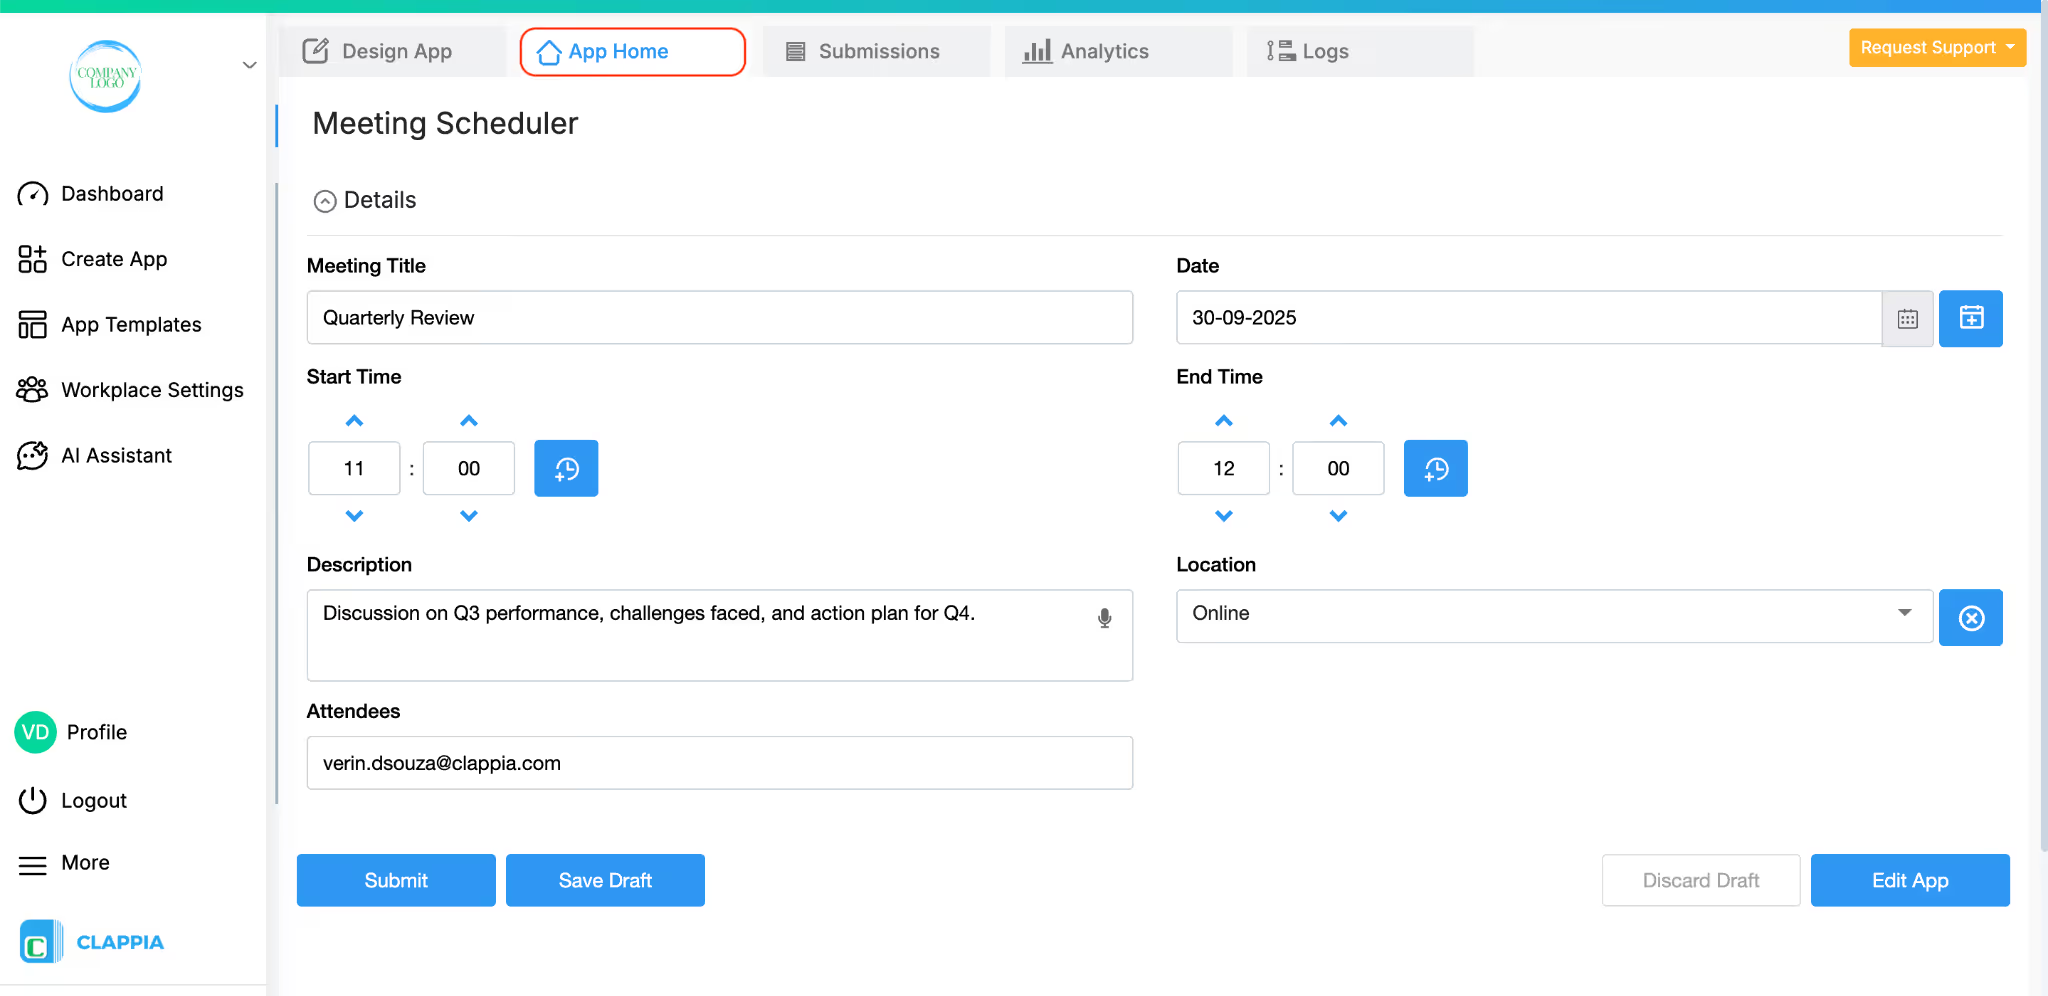
The event is scheduled for the date and time entered in the submission, the meeting title becomes the event title, and invites are sent to all the email addresses entered in the attendees field.
The Google Calendar Workflow sends invites to the email addresses mentioned in the Attendees section of the workflow step.
You can either type email addresses there manually, or type @ and select a field from your app that captures email addresses.
If you have mapped a field there and a particular submission does not contain any email address in that field, the event will still be created but no invite will be sent for that submission.
L374, 1st Floor, 5th Main Rd, Sector 6, HSR Layout, Bengaluru, Karnataka 560102, India
3500 S DuPont Hwy, Dover,
Kent 19901, Delaware, USA


3500 S DuPont Hwy, Dover,
Kent 19901, Delaware, USA
L374, 1st Floor, 5th Main Rd, Sector 6, HSR Layout, Bengaluru, Karnataka 560102, India
.svg)
