
Still need help?

This article explains the Microsoft Teams workflow step in Clappia. This step allows you to send a notification message to a specific Microsoft Teams channel whenever a workflow runs.
The MS Teams step will execute based on where it is placed in your workflow:
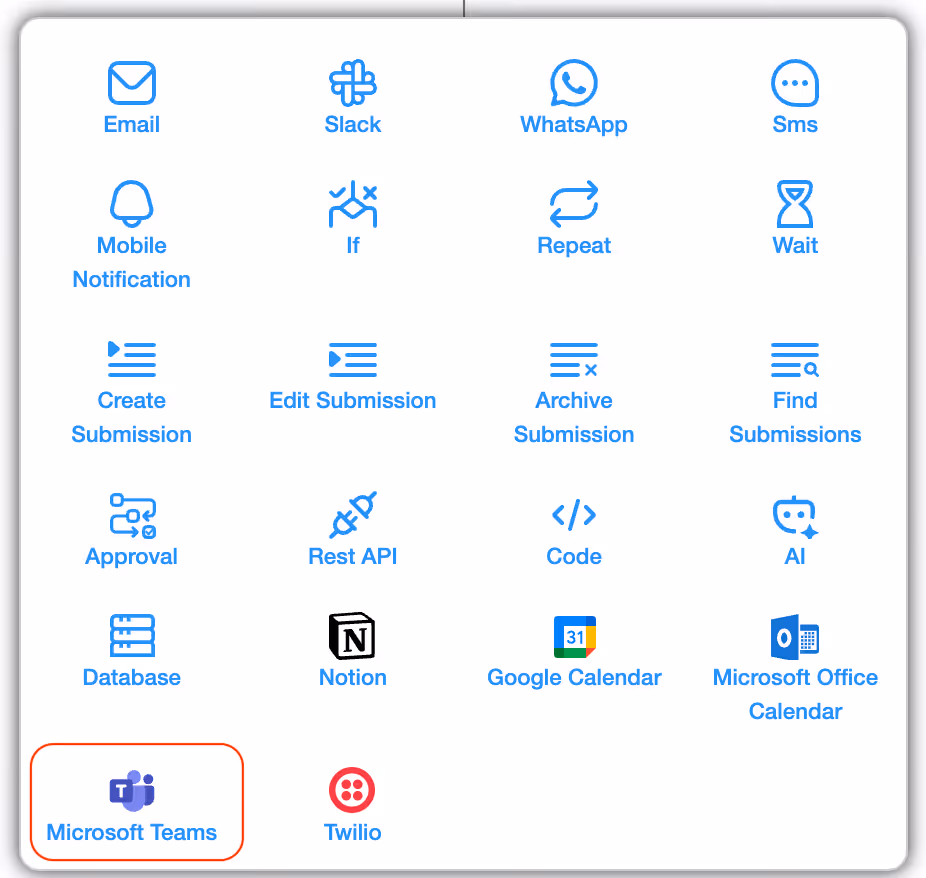
Open your app, go to Design App > Workflows.
Choose the workflow where you want to add Microsoft Teams. Click on Add Step or ‘+’ symbol. Once added, the configuration panel will open on the right side.
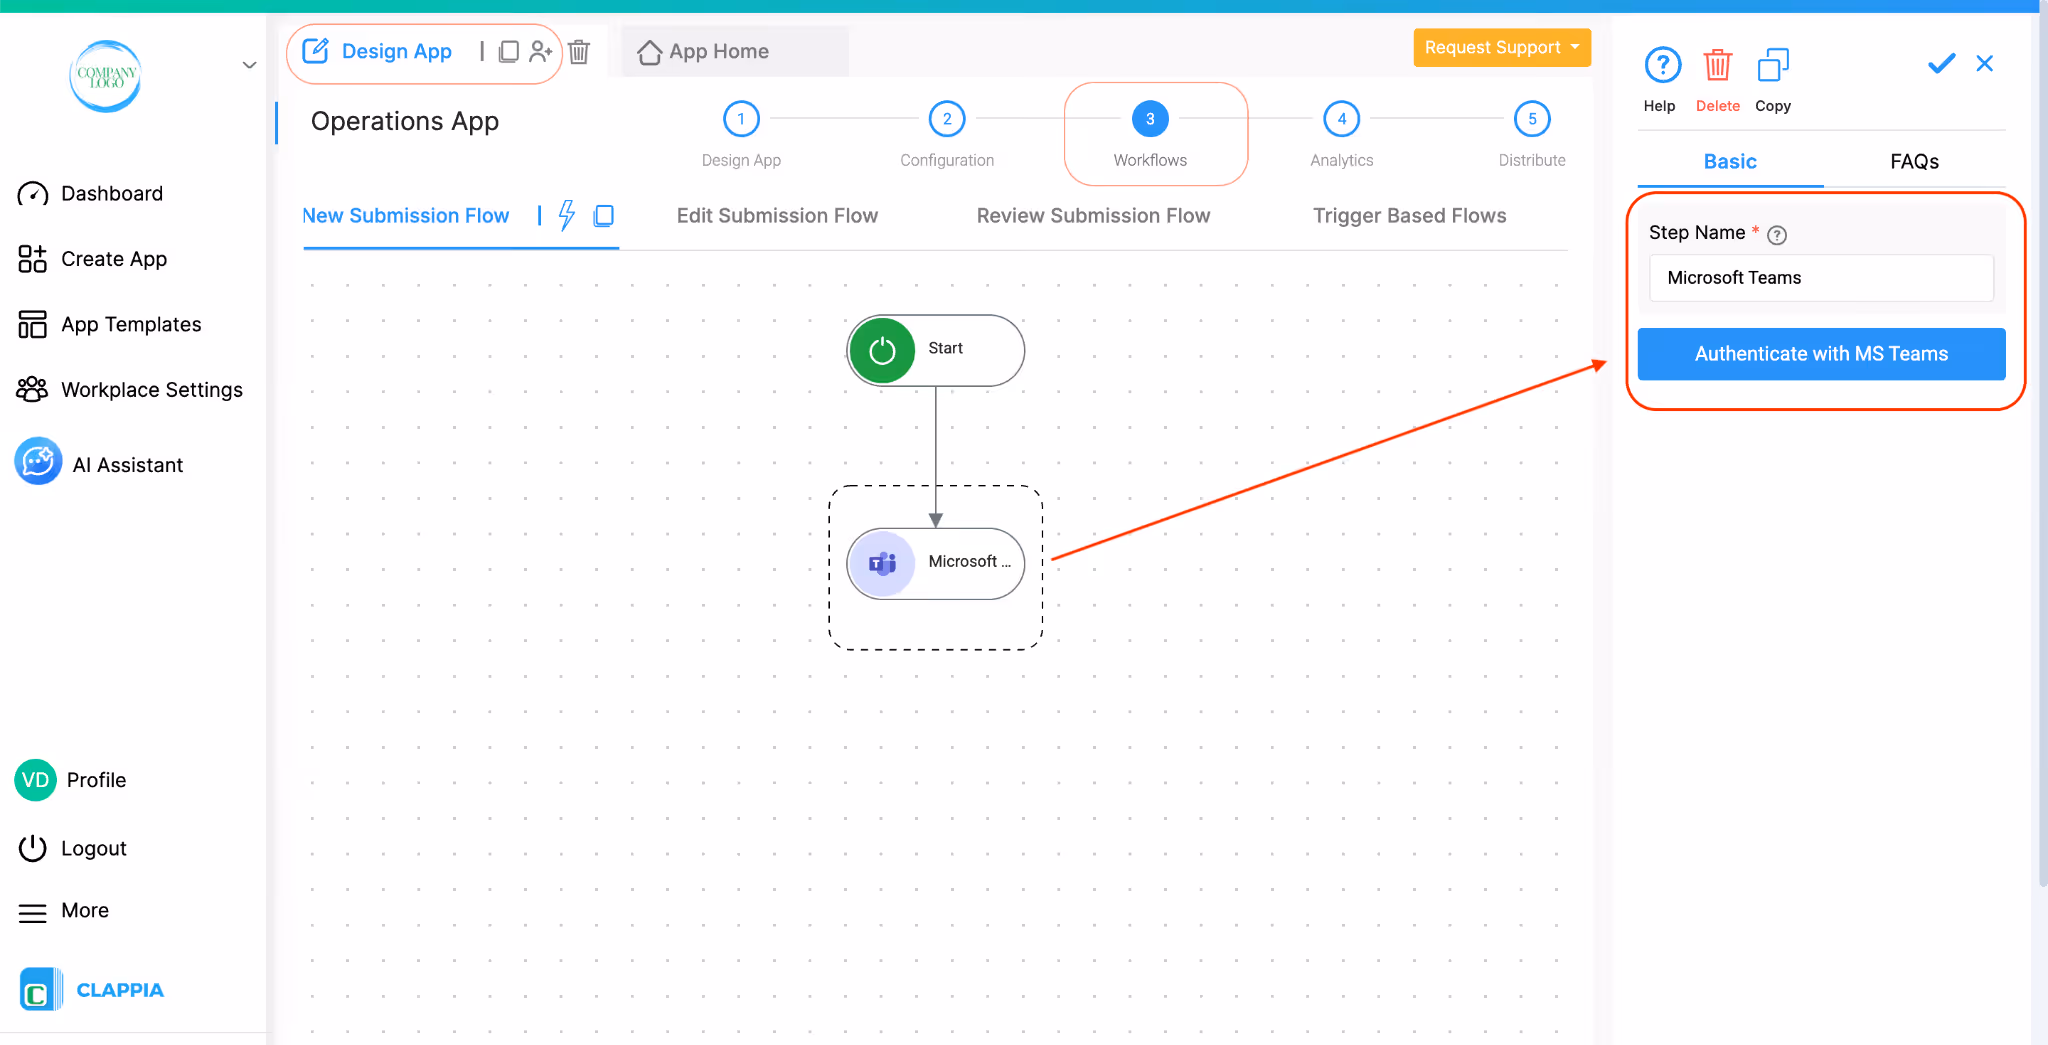
You can provide a name for this workflow step.
By default, it will be named Microsoft Teams, but you can rename it for easier identification (for example, Notify Operations, Notify HR, Send Escalation Alert).
Click Authenticate with MS Teams.
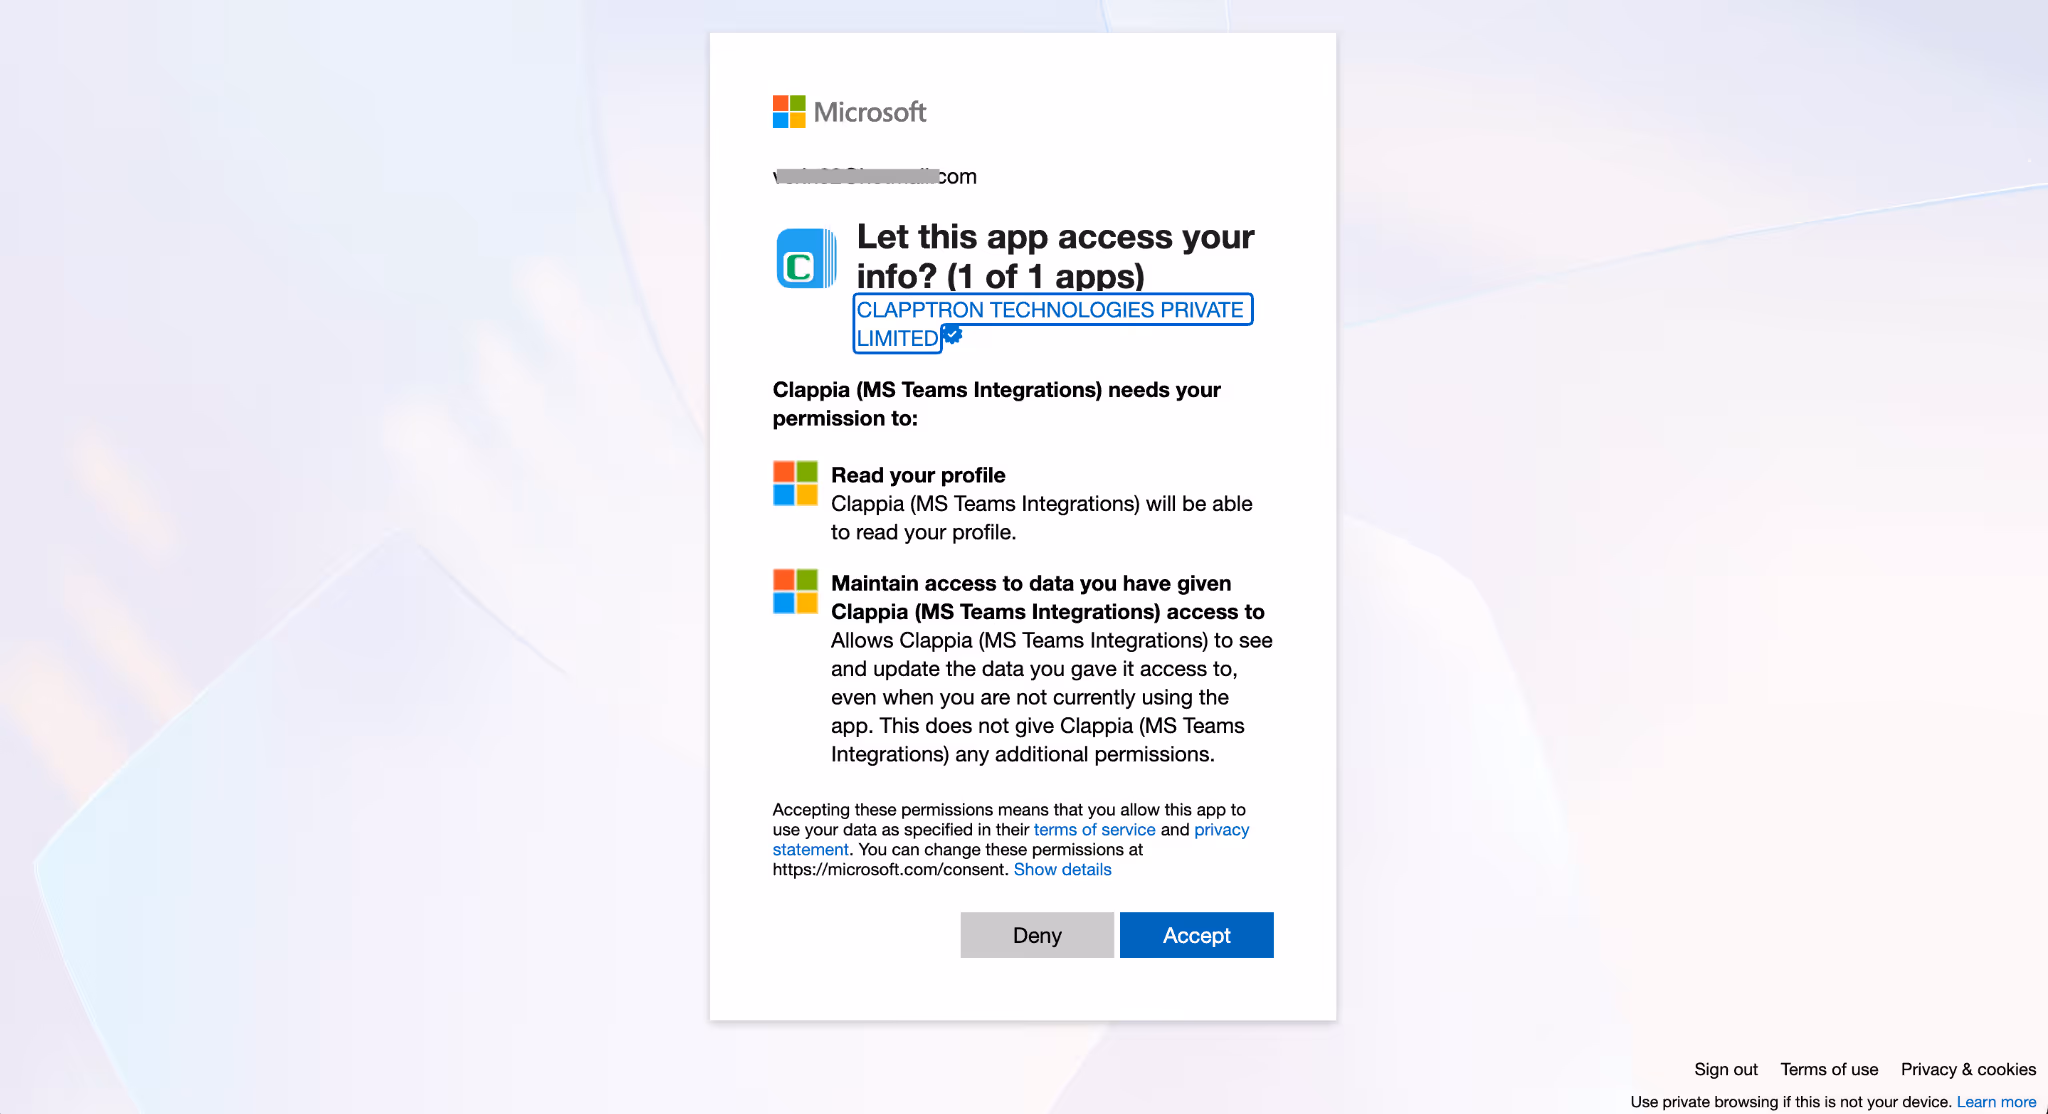
You will be redirected to Microsoft’s login page. Sign in using the Microsoft account that should send the message to Teams. Grant the required permissions.
Once authentication is successful, the panel will show that the account is connected.
This authenticated account is the one that will post messages to the selected Teams channel.
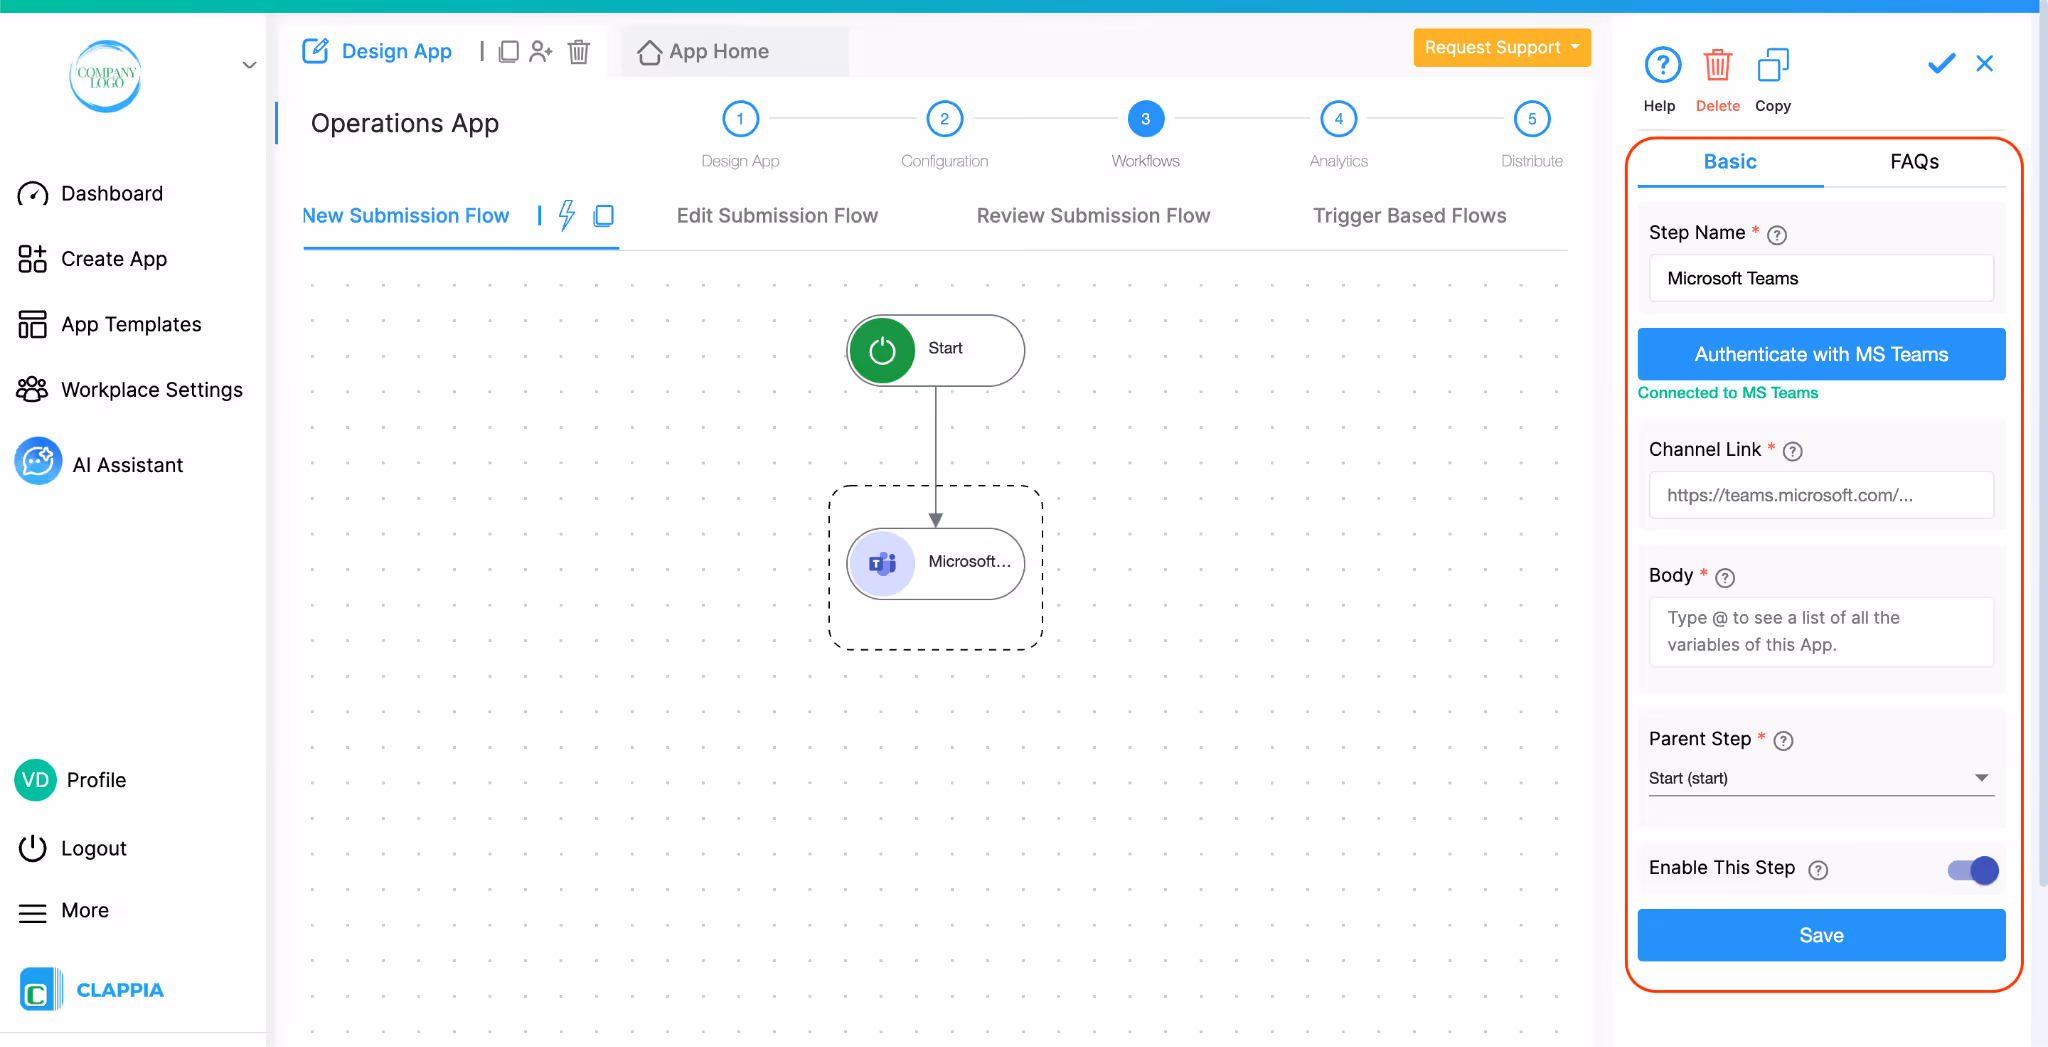
Paste the full Microsoft Teams channel link where the message should be posted.
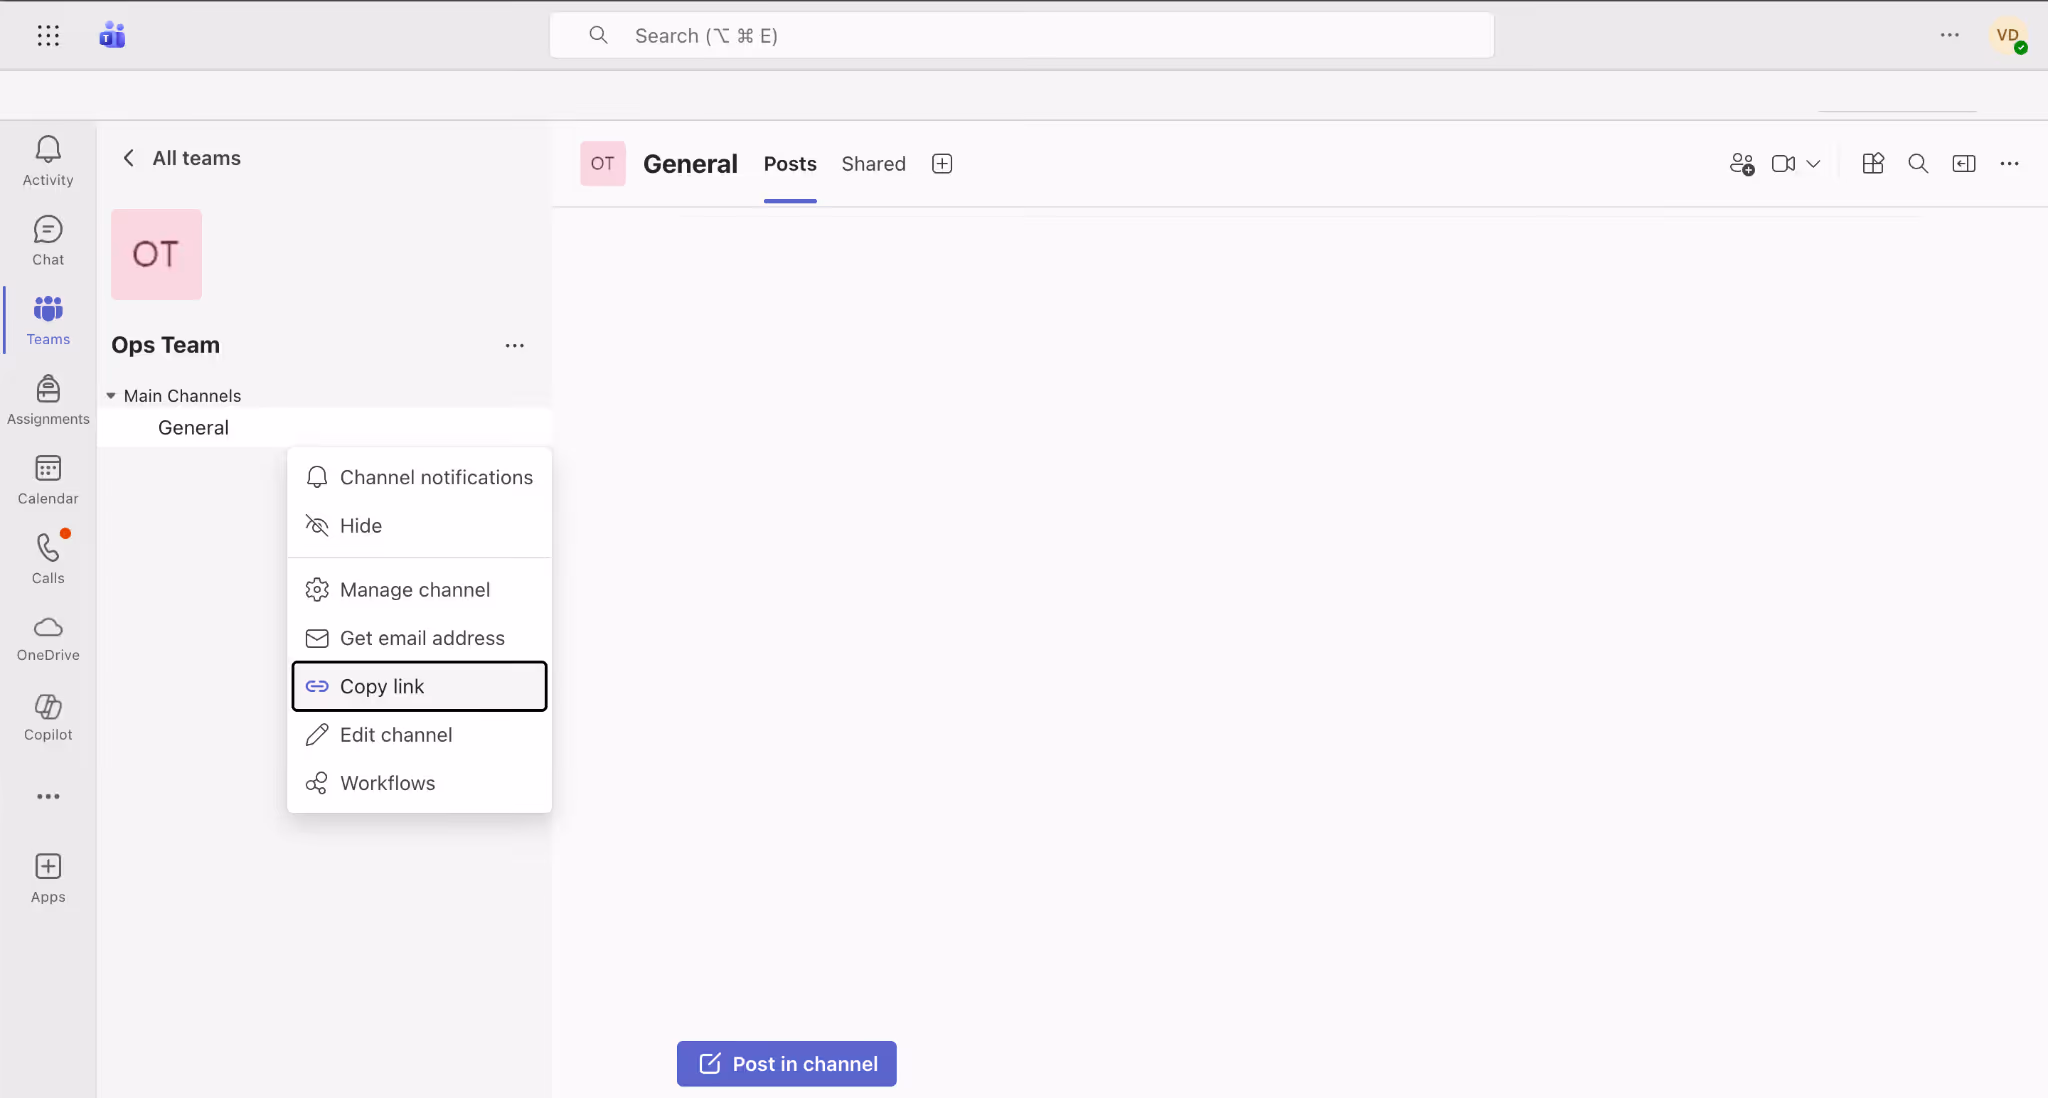
To get the channel link:
The workflow will post the message to this exact channel.
Enter the message that should be posted in the Teams channel.
This is the actual notification content that will appear as a channel post.
You can type static text, such as:
An escalation requires attention from the operations team.
You can also include dynamic values from your app by typing @. This will display a list of fields from your app whose values you can insert into the message.
For example:
New Incident Reported
Incident ID: {incident_id}
Reported By: {submitted_by}
Priority: {priority}
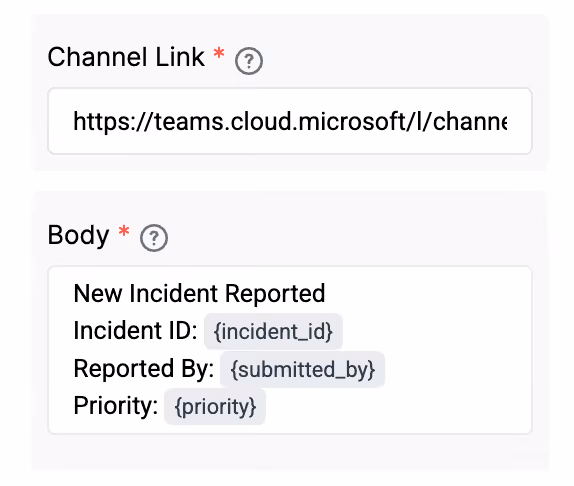
When the workflow runs, these variables will automatically be replaced with real submission data.
The Body field cannot be left empty, as this is the message that will be sent to Teams.
This shows the step immediately above the MS Teams step in your workflow.
For example, if this step is placed directly after ‘Start’, then Start will be shown as the parent step.
If placed after another workflow step (like Approval or Edit Submission), that step becomes the parent.
You can change the parent step if there are more than one.
This option is enabled by default.
If disabled:
You can temporarily disable the step for testing without deleting it.
When the workflow runs successfully, a message will be posted in the Teams channel whose link you provided.
All members of that channel will be able to see the message, subject to their notification settings in Microsoft Teams.
L374, 1st Floor, 5th Main Rd, Sector 6, HSR Layout, Bengaluru, Karnataka 560102, India
3500 S DuPont Hwy, Dover,
Kent 19901, Delaware, USA


3500 S DuPont Hwy, Dover,
Kent 19901, Delaware, USA
L374, 1st Floor, 5th Main Rd, Sector 6, HSR Layout, Bengaluru, Karnataka 560102, India
.svg)
